
How to Start a Small Bonsai Tree
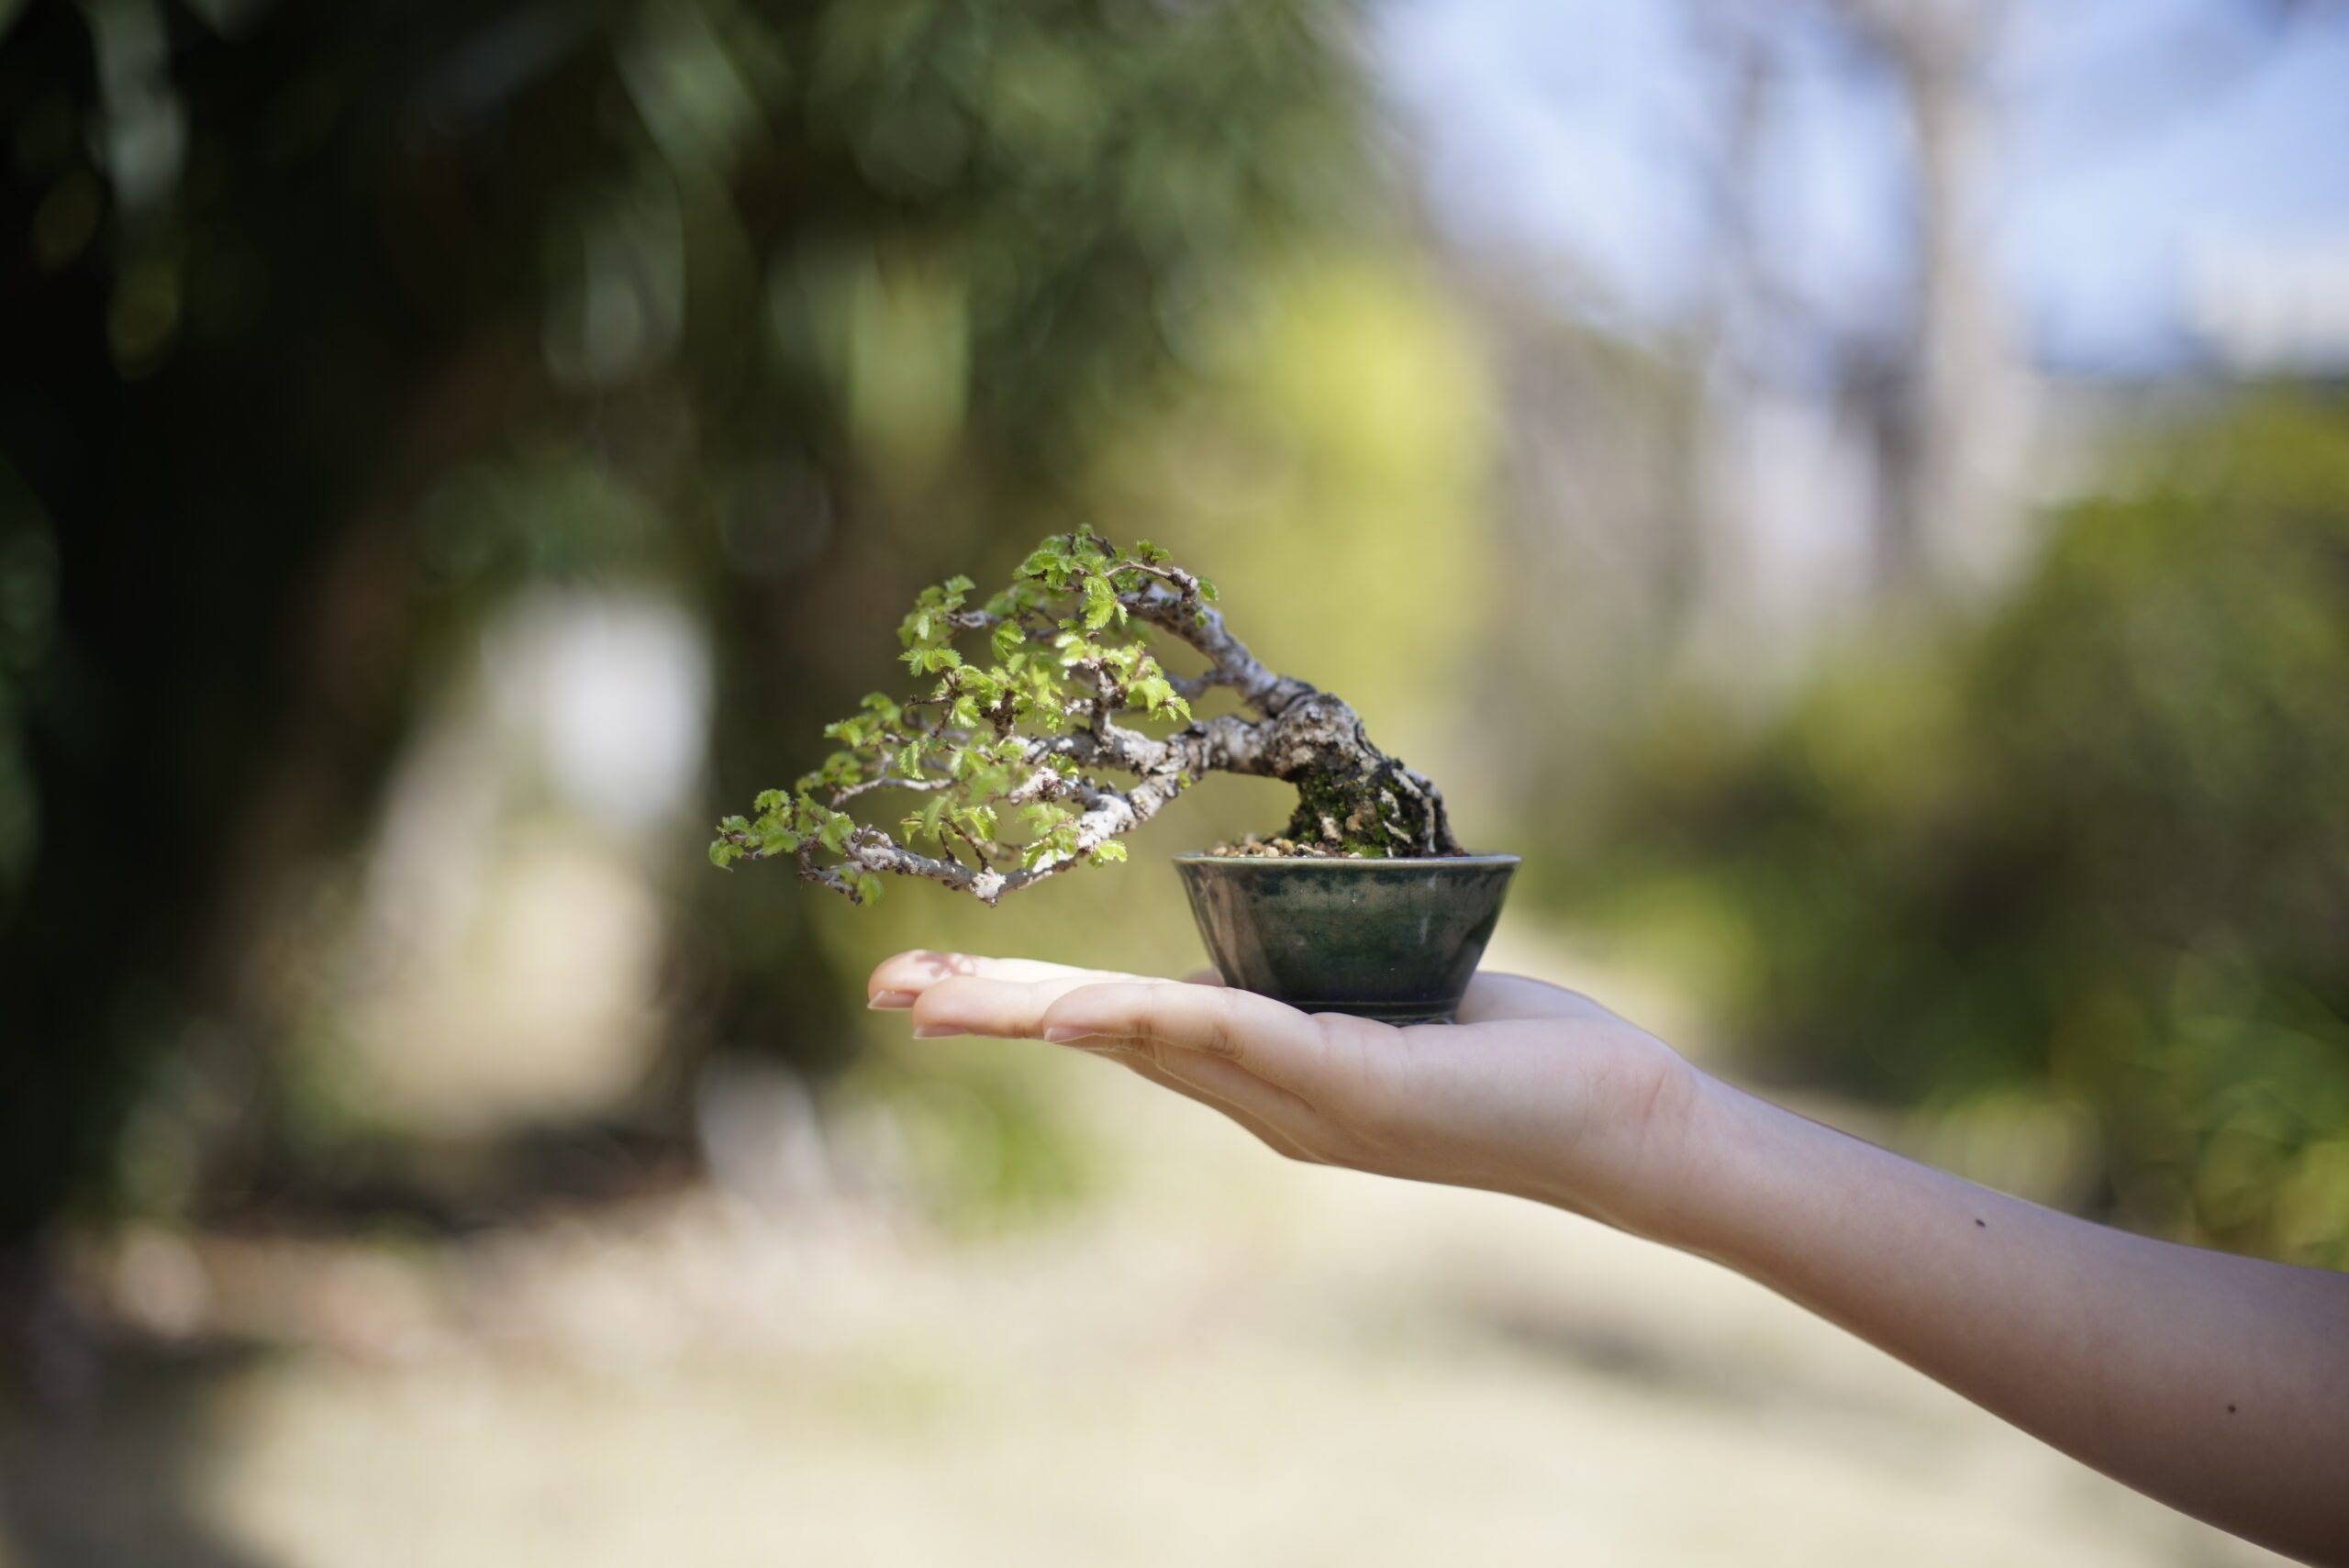
Five Steps to Getting Started with Small Bonsai
If you’re thinking about starting small bonsai, you may be wondering where to begin. When I first started bonsai, I often wasn’t sure what to do. That’s why I’ve summarized what I’ve learned into five simple steps (STEP 0–4). You don’t need to read everything from the beginning. If you simply want to get started, STEP 1: Get Your First Tree and STEP 2: Daily Care & Essentials are enough.
To be honest, even if you follow this guide, there’s a good chance you’ll lose a tree at first. As far as I know, there is probably no way to guarantee that a bonsai will never die. I still lose trees from time to time, and even My bonsai teacher, who has practiced bonsai for more than fifty years, occasionally loses one. But every tree you care for—including the ones that don’t survive—becomes part of your experience. Make it your first goal to keep your tree alive for six months. If you can care for it successfully for one full year, that’s already an impressive achievement for a beginner.
Everything introduced here is based on the experience of one small bonsai enthusiast in Japan. The best approach depends on your climate, the species you grow, and your growing environment, so adjust these methods to suit your own conditions.
On this website, “enjoying bonsai” doesn’t mean creating a finished masterpiece. It means being able to keep a small bonsai in a 5–10 cm (2–4 in) pot healthy through one growing season. People enjoy bonsai in many different ways, but throughout this website, that is the benchmark we use.
Environment Check
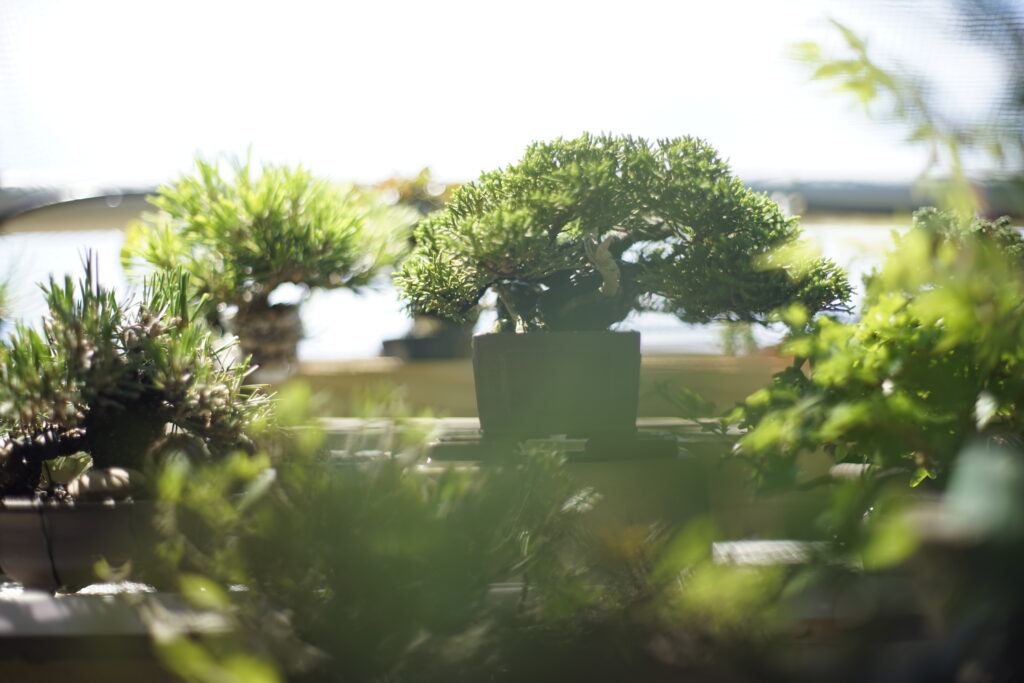
Make sure:
Get Your First Tree
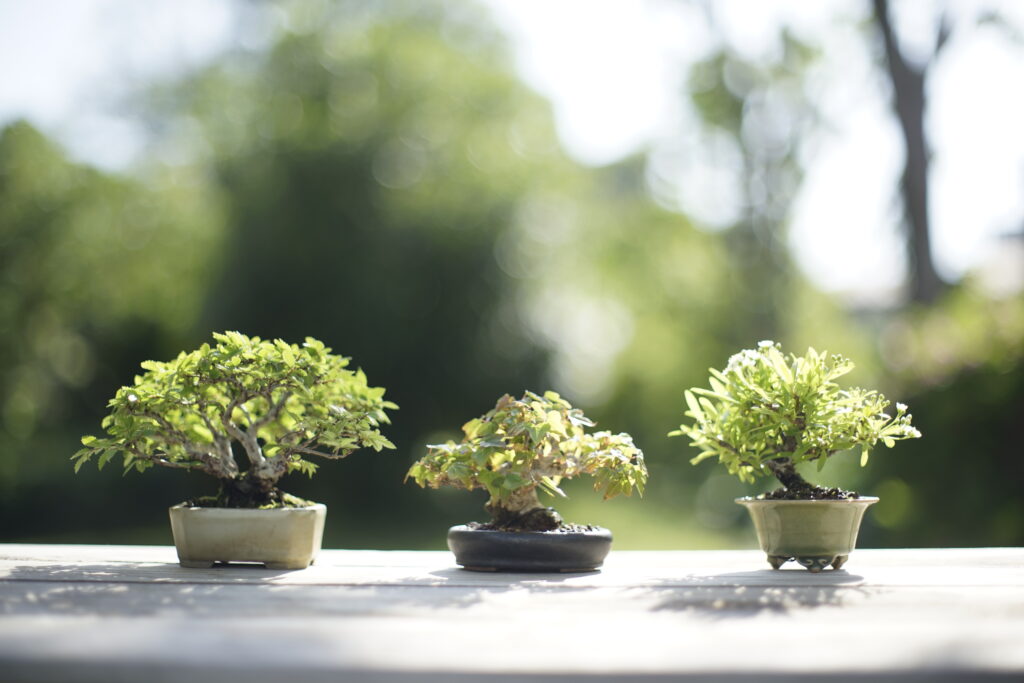
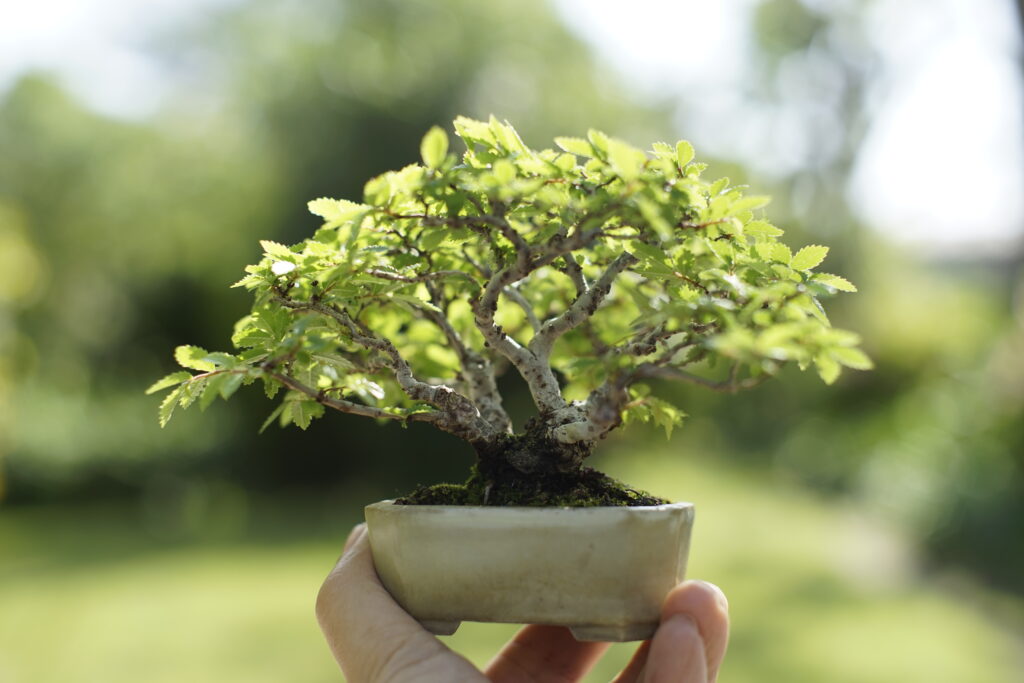
Broadleaved Trees with Vigorous Root Growth Are Recommended for Beginners
The conditions beginners should look for in their first tree are very simple: hardiness and a strong root system. In Japan, broadleaved trees known as Zoki—including fruiting and flowering trees in this context—fit these conditions well.
Among them, Chinese Elm, Pyracantha (Firethorn), and Trident Maple are especially strong growers with vigorous root systems, making them some of the best choices for beginners. In some regions, Ficus is also commonly chosen. Start by finding a hardy broadleaved tree with strong roots that you genuinely like.
Shimpaku, one of the most iconic bonsai species, is also very hardy, drought-tolerant, and well suited to beginners. However, it may be difficult to find depending on the region and local availability.
When buying a tree, use the points below as a guide. If you want something a little more refined, refer to the articles Bonsai Styles and How to Choose a Good Pre-Bonsai. To begin with, choose a tree you like, and once you become more comfortable, you can also try developing your own bonsai.
Key Points
Where to Get a Tree
Bonsai Nursery
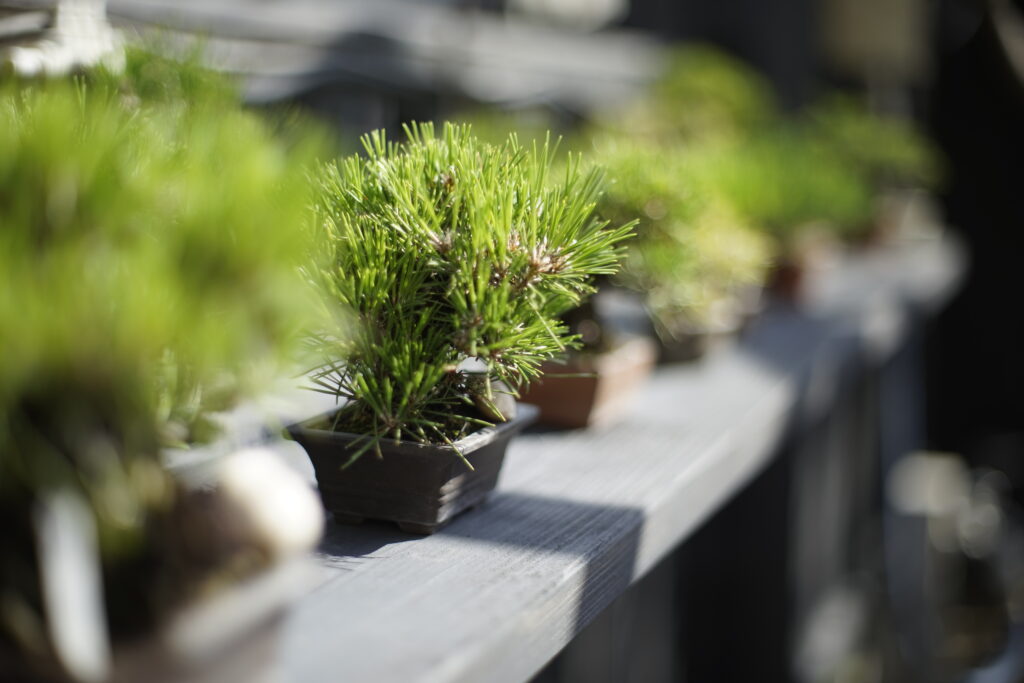
A bonsai nursery is the most reliable place to buy your first tree. You can ask about placement, sunlight, and daily care, and they may recommend species that suit your local climate. Many nurseries also offer beginner workshops, making them a great place to learn.
Garden Center
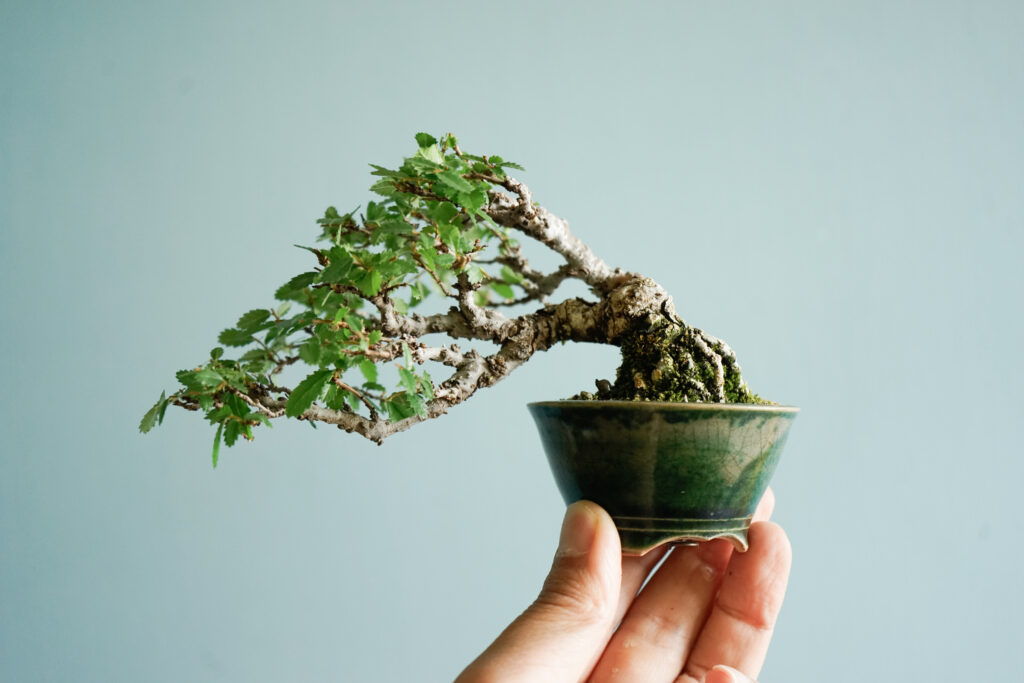
As bonsai culture has spread, you may now find bonsai at garden centers. Even if no bonsai are available, vigorous nursery stock such as olive or Pyracantha (Firethorn) can be trained as bonsai or used as material for trying air layering.
See the link below for tips on what to look for when buying.
Online
The internet is now a great place to buy bonsai through specialist nurseries and auction sites. However, because you can’t inspect the tree in person and shipping always carries some risk, beginners should start with inexpensive trees.
Before buying, learn the basics of bonsai styles, what makes a good tree, and how to choose quality pre-bonsai.
Create Your Own
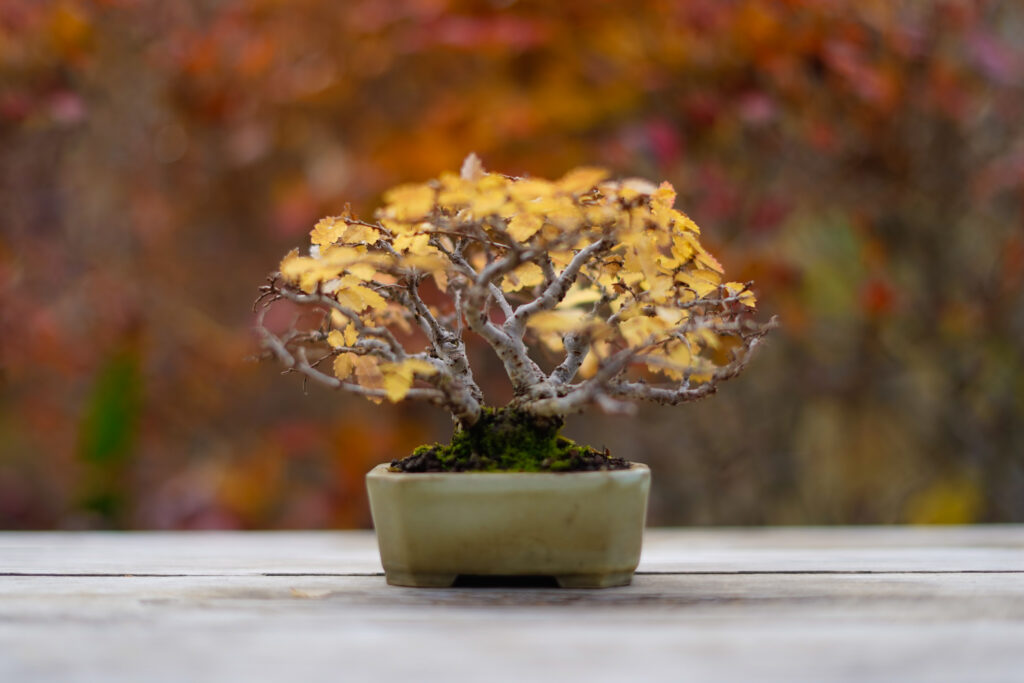
Detailed methods will be covered in future articles, but air layering can, in some cases, be the fastest way to create a displayable small bonsai from a bonsai that has lost its shape, a garden tree, or a landscape tree. It is not particularly difficult, but there is still a chance of failure. Beginners should first set up a suitable growing environment and become familiar with daily care and repotting (STEP 0–2 and STEP 4) before trying it.
Create by air layering (in some cases, the fastest method)
Develop from stock trees or unrefined material
Grow from cuttings
Grow from seed
Note: Because collecting trees from the wild involves environmental and property-rights issues, this website does not recommend it for beginners.
Enjoy the Process
Bonsai may seem to take a long time to develop. And even when you think a tree is finished, bonsai are living things and continue to change.
But it is precisely in these changes over the years, the different expressions of each season, and the daily care of the tree that you can enjoy connecting with the small piece of nature that is a small bonsai or Shohin Bonsai.
The process itself—even when things do not go as you hoped—is part of the enjoyment of bonsai.
Approximate Time to a Displayable Tree
Daily Care & Essentials
Daily Care
Placement
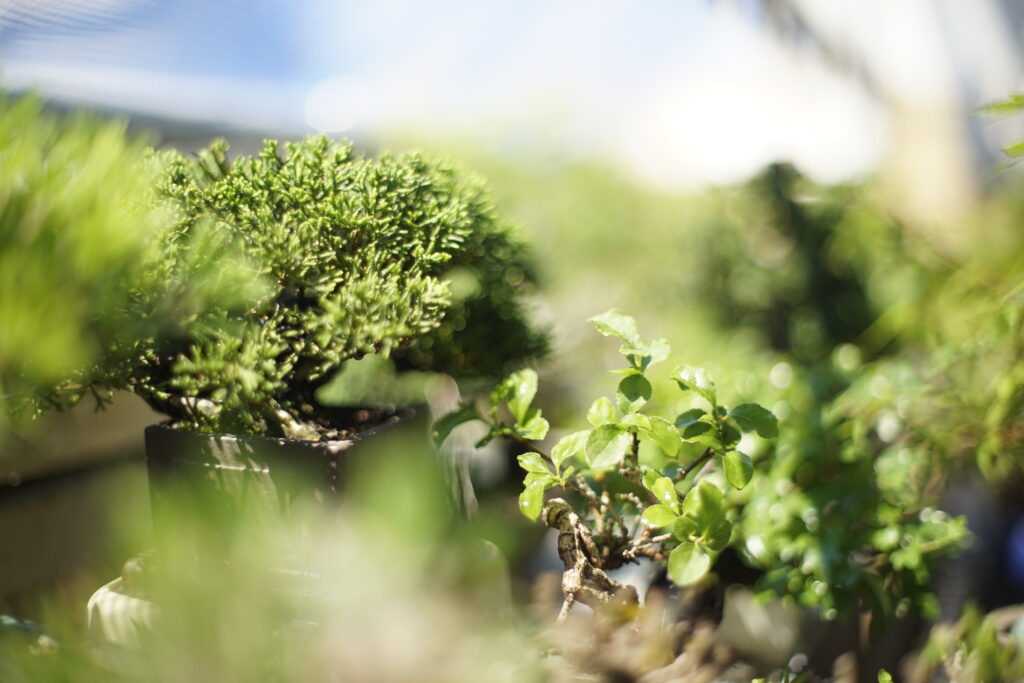
One advantage of small bonsai is that you do not need a large garden—I grow mine on a balcony. However, keeping bonsai indoors for extended periods is generally not recommended. Keeping them indoors for more than 3–5 days can harm the tree due to insufficient sunlight and overly wet soil.
Sunlight comes first. Make sure the tree receives at least 3–4 hours of direct sunlight a day, ideally in the morning. As explained in STEP 0, aim for a south- to east-facing location in the Northern Hemisphere and a north- to east-facing location in the Southern Hemisphere. Except for pines, avoid western afternoon sun to prevent leaf scorch.
Good airflow comes next. It is very important for healthy roots and for helping prevent pests and diseases.
If you cannot provide enough direct sunlight, however, you do not have to give up. By choosing trees that tend to tolerate shade, such as hornbeams, Understory Maples (Japanese maple and Field maple), euonymus, or shade-tolerant Pyracantha, you can still grow bonsai in a bright location without much direct sunlight. With less direct sunlight, however, pay particular attention to good airflow.
Key Points
At least 3–4 hours of direct sunlight, ideally in the morning
Avoid western afternoon sun to prevent leaf scorch (except pines)
Ensure good airflow
If sufficient sunlight is unavailable, choose a shade-tolerant tree
In midsummer, provide shade from direct sunlight to prevent leaf scorch (except pines)
Protect from freezing temperatures and cold winter winds during the coldest part of winter.
Watering
When you are just starting out, the most important thing is simply not to forget to water. A common guideline is to water two or three times a day in hot weather (morning, evening, and sometimes midday), once a day in cooler weather (in the morning), and once every two or three days during cold periods (around midday). However, these are only rough guidelines.
The basic rule is to water thoroughly when the soil surface has dried and the pot feels lighter when you pick it up. Water until it drains from the bottom of the pot, let it drain, then water thoroughly once more.
If using running water is difficult in your environment, soaking the pot in a container of water is also effective. Bubbles when you submerge the pot mean the soil was dry; no bubbles mean it was still too early to water.
While it is important not to forget to water, do not keep the soil constantly wet. This can weaken the tree instead. Through observation and practice, try to find the watering cycle that works best in your environment as soon as you can.
Key Points
Above all, do not forget to water
As a basic rule, water thoroughly twice after the soil surface dries
Soaking is also an option
Do not keep the soil constantly wet
Fertilizing
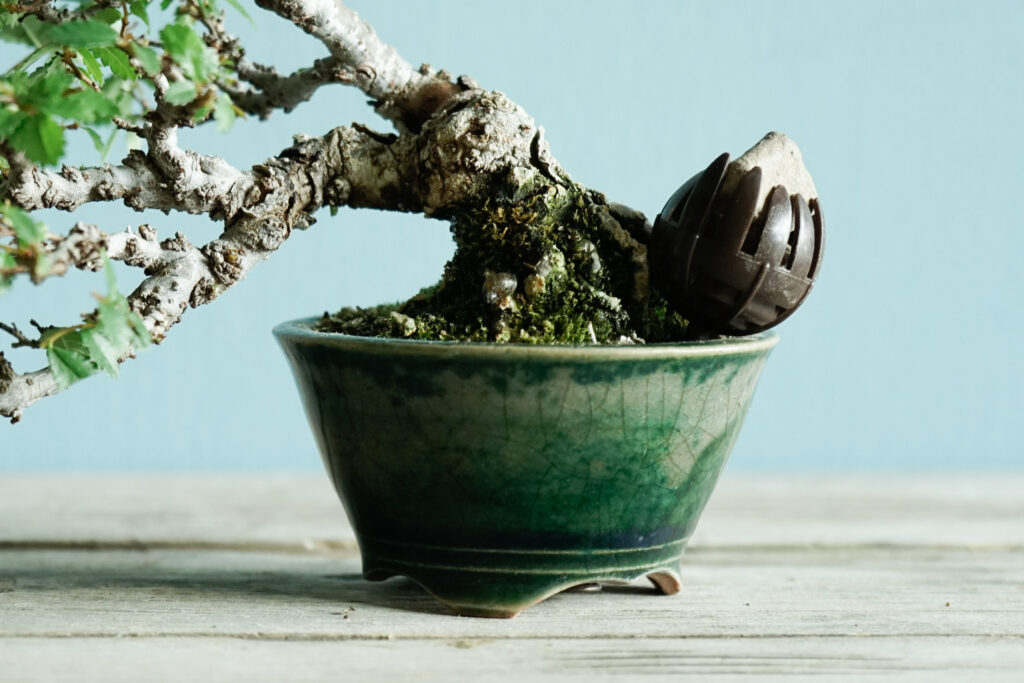
To maintain tree vigor and keep your bonsai healthy, you need the right amount of fertilizer at the right time. First, carefully read the instructions for the fertilizer you are using. If you use Biogold, a popular fertilizer for bonsai, a rough guideline is to place one or two pellets along the rim of the pot for every 2.5–3 cm (1–1.2 in) of pot width.
Key Points
No fertilizer is needed until the new spring growth opens
No fertilizer is needed during cold periods when the tree is dormant
Fertilizer is not needed if the tree is growing too vigorously during warm, rainy periods
Remove fertilizer if the tree is weak
Avoid overfertilizing, as it can contribute to fertilizer burn and root damage
Tools, Pots, and Soil
Tools
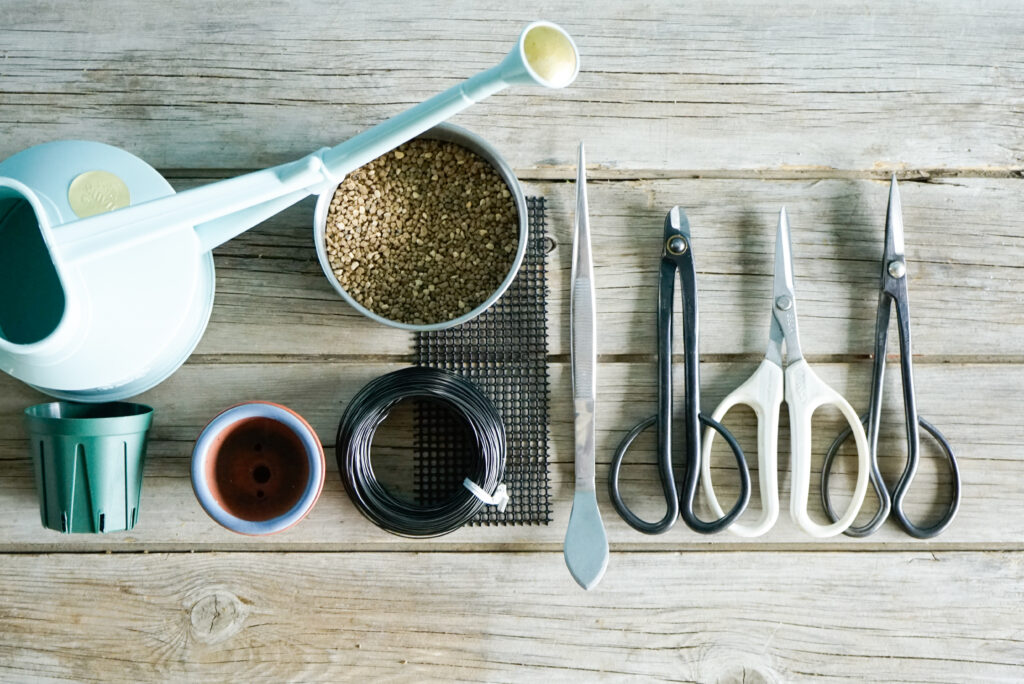
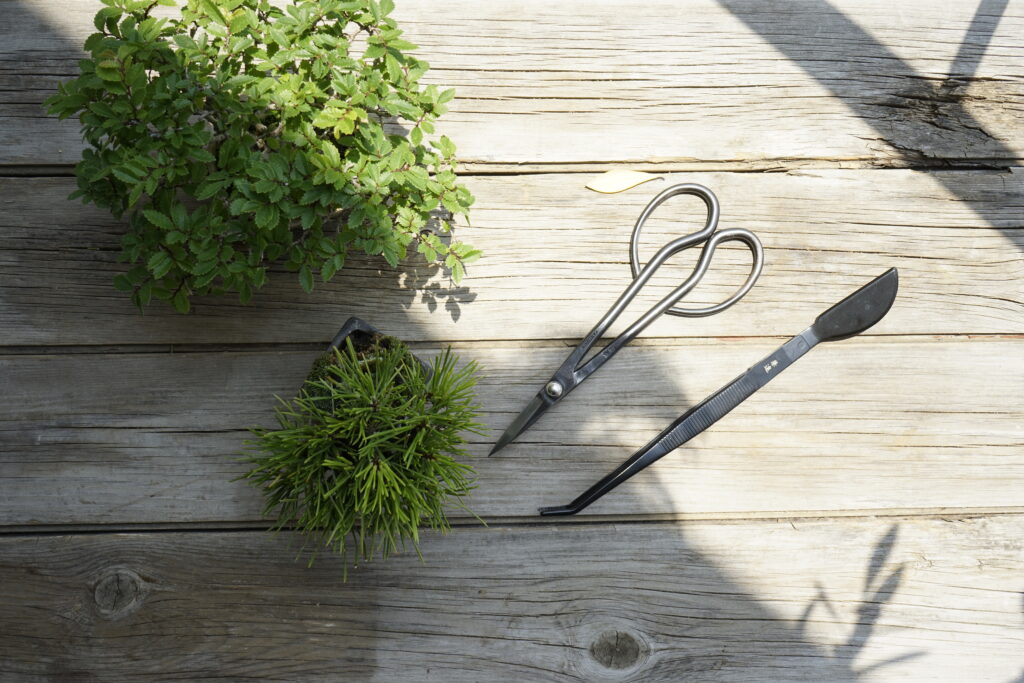
You do not need specialized bonsai tools from the beginning. Here are the minimum essentials.
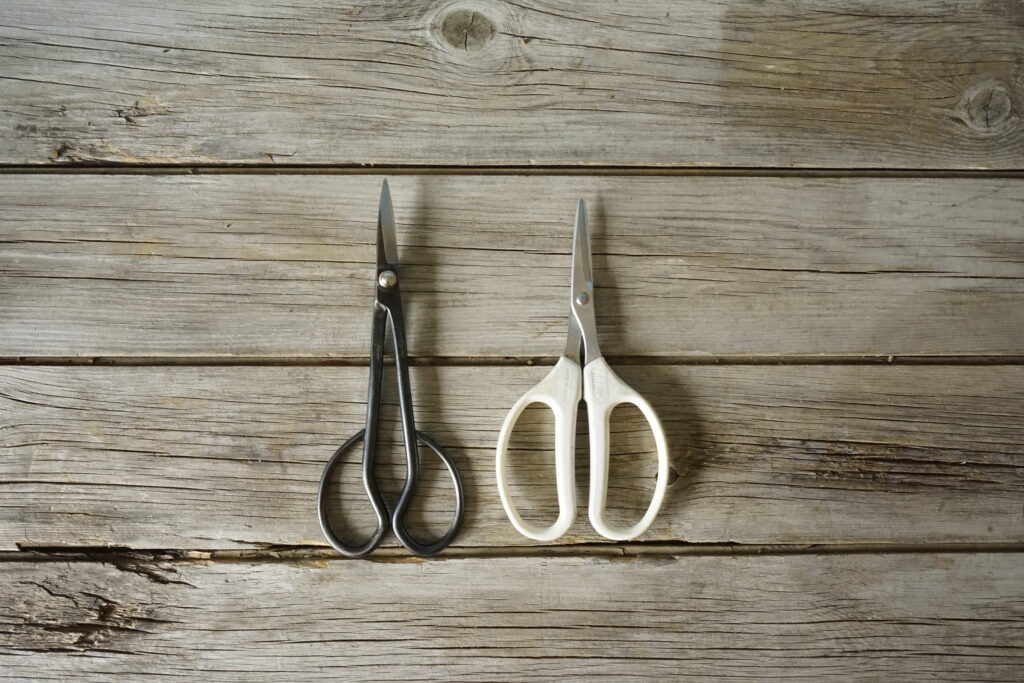
If you’re starting with small bonsai, begin with a sharp pair of twig shears and a practical pair of all-purpose gardening shears for root pruning. These are the two tools you’ll use most often for everyday pruning and repotting.
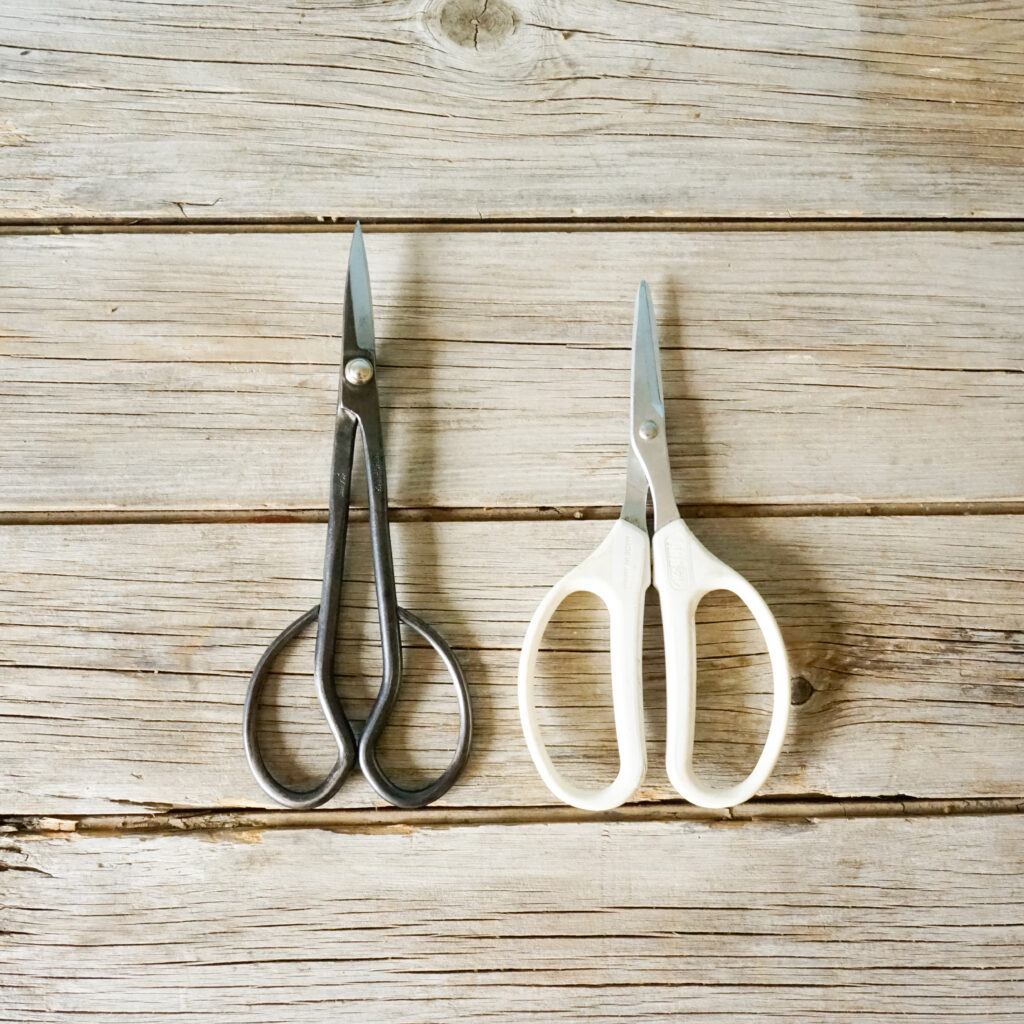
Twig Shears & Root-Pruning Shears
For twig pruning, Satsuki shears, twig shears, or grape shears are recommended.
For root pruning, all-purpose gardening shears are recommended.
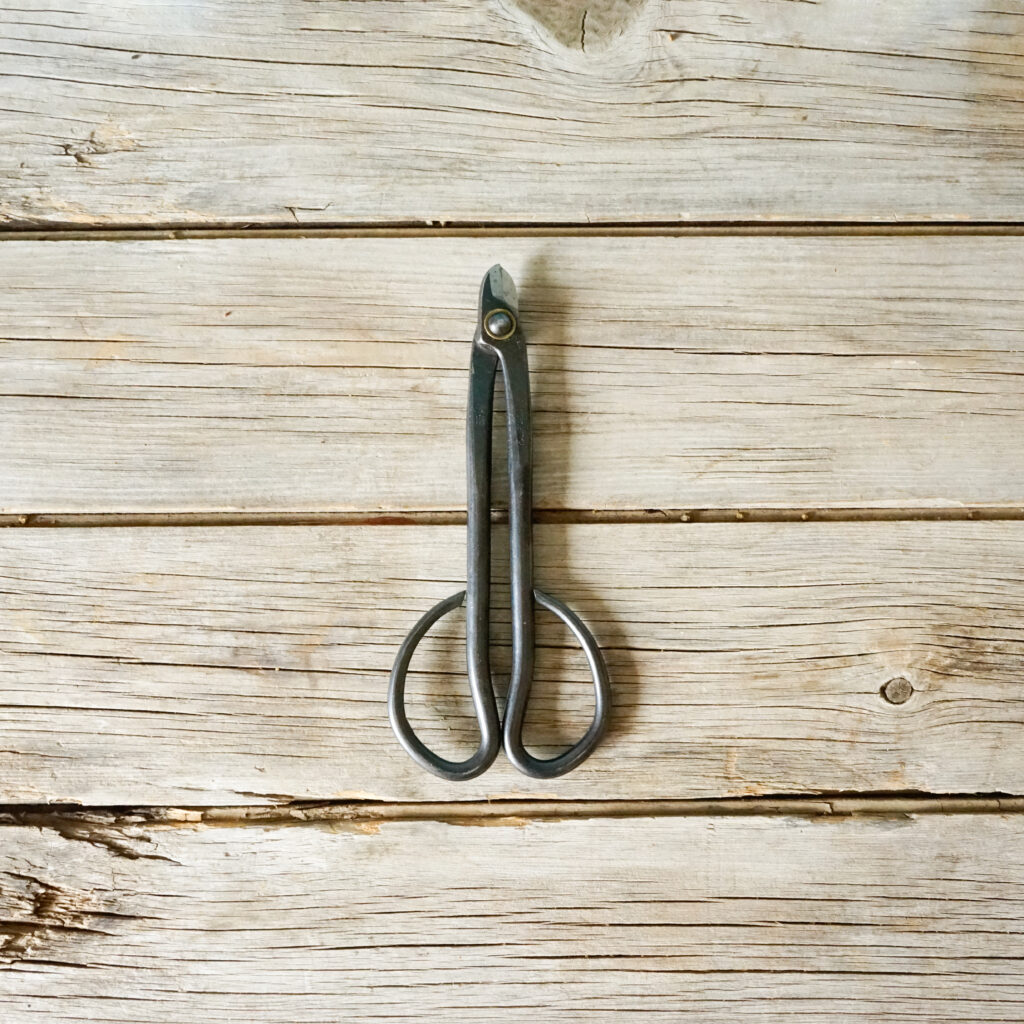
Wire Cutters
To begin with, use whatever wire cutters are readily available. If you continue with bonsai long-term, bonsai wire cutters are recommended because they are less likely to damage the tree.
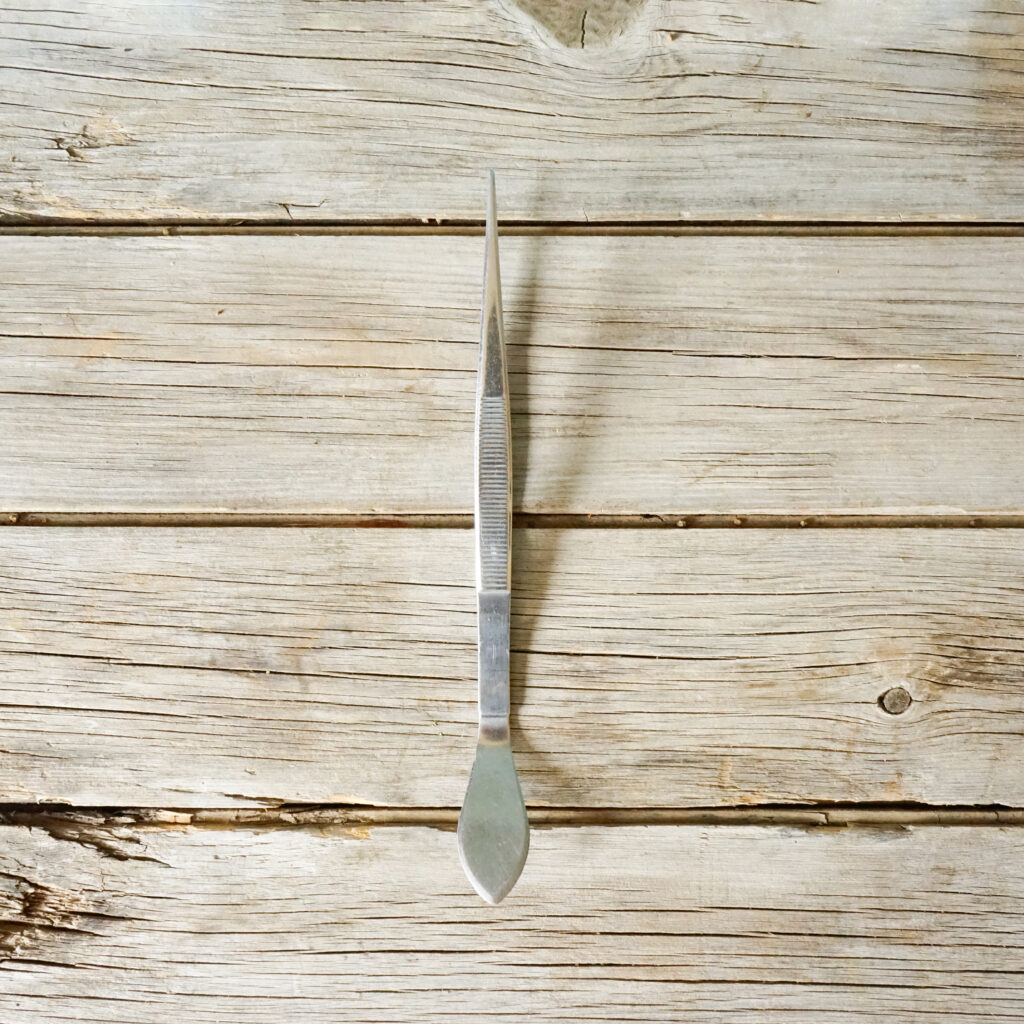
Tweezers
Useful for detailed work such as weeding, applying moss, and wiring.
They can also be used for root work. Bonsai tweezers with a spatula end are especially convenient.
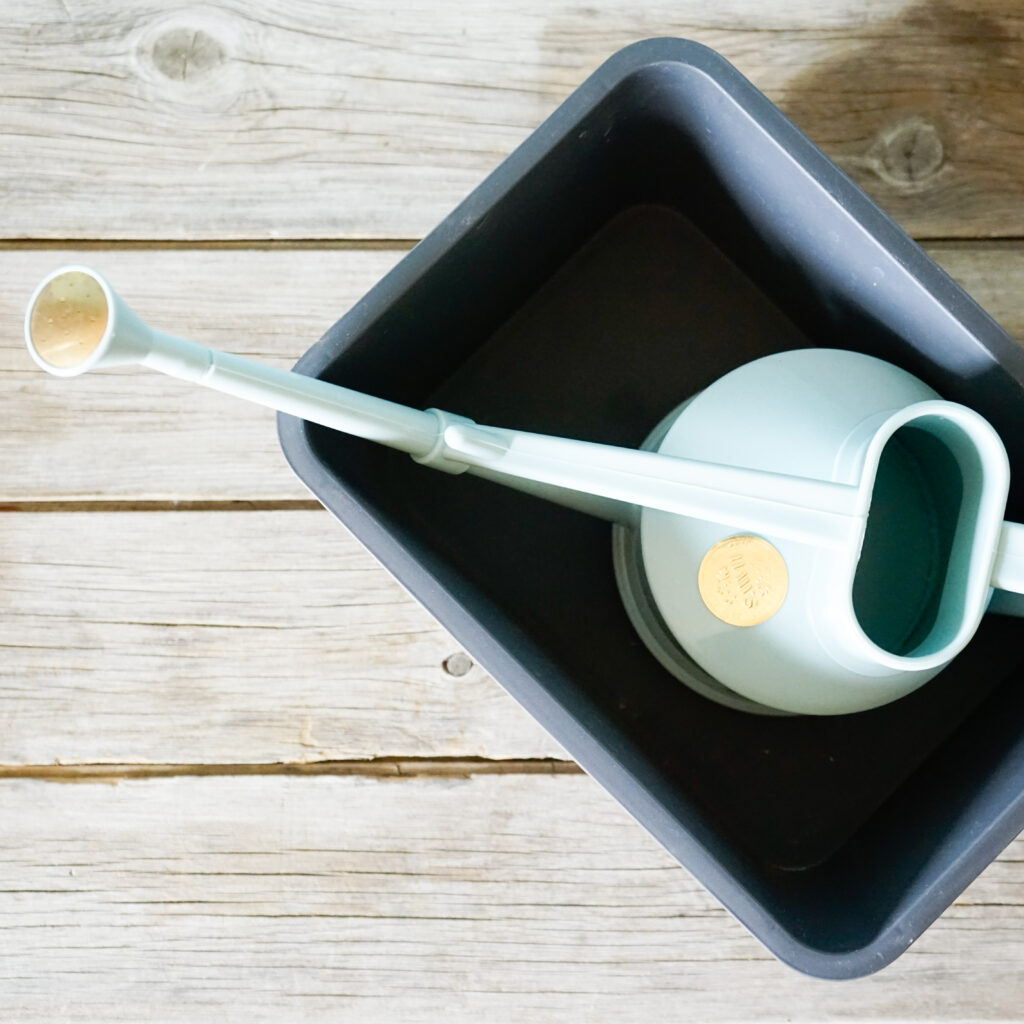
Watering Equipment
To begin with, a watering can with small holes is sufficient. If you are in an environment where you cannot freely use running water, prepare a container for soaking.
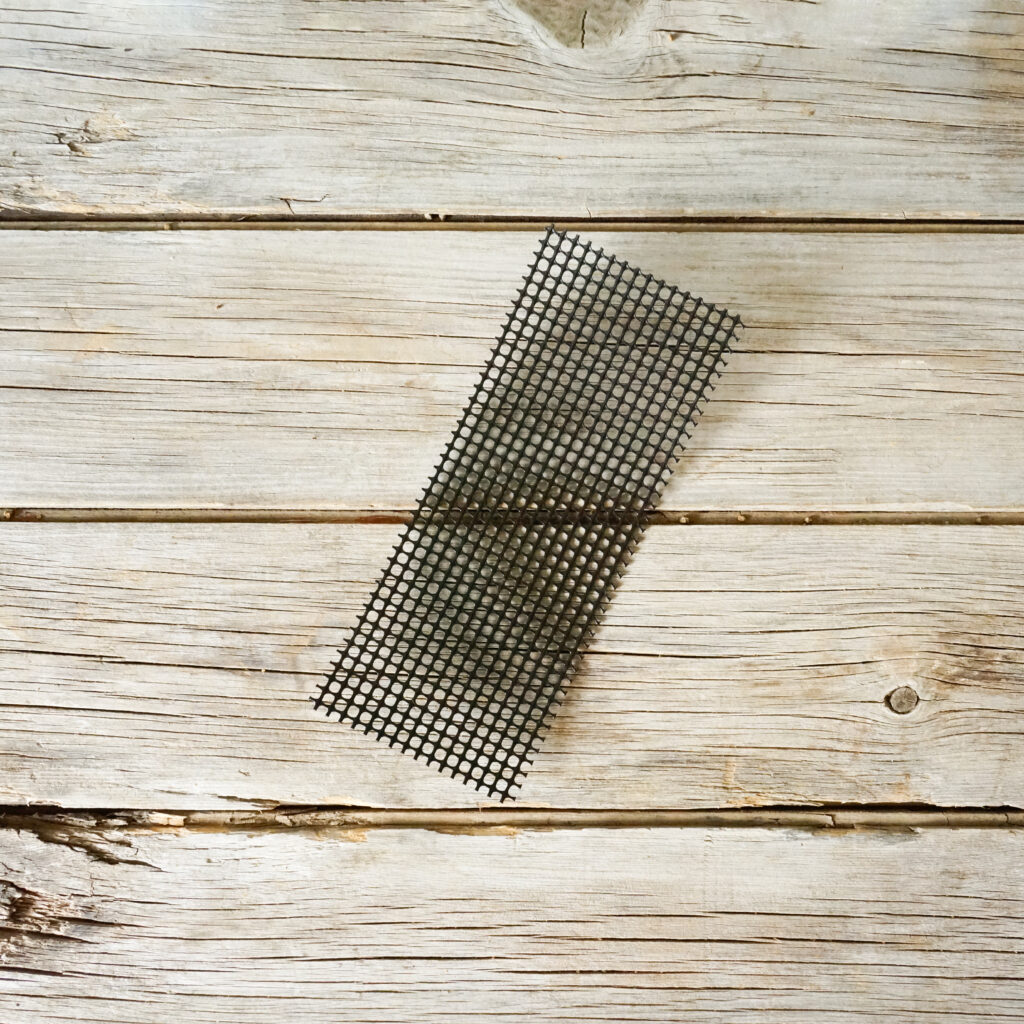
Gardening Plastic Mesh
Helps prevent soil from washing out and insects from entering the pot.
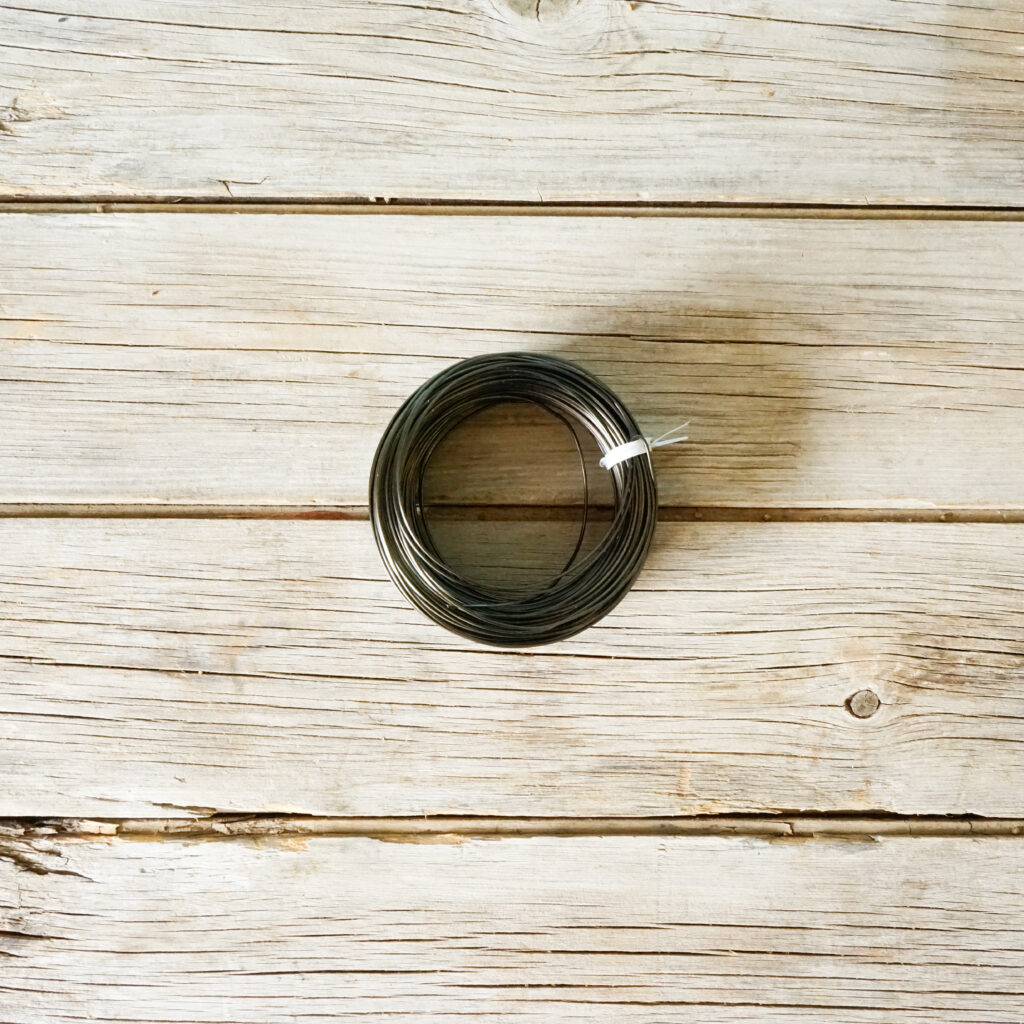
Wire
One type of aluminum wire, around 18–20 gauge (about 1 mm), is enough to begin with.
Also Useful
PVA glue — as a substitute for cut paste
Spray bottle — for daily moisture and keeping roots moist during repotting
Tray — for repotting and everyday work
Pliers — useful for twisting wire
Bamboo skewer — for repotting
Soil scoop or teaspoon — for adding soil during repotting
These are the basic tools I personally use for small bonsai.
You don’t need everything at once—this is just my starting set.
Pots
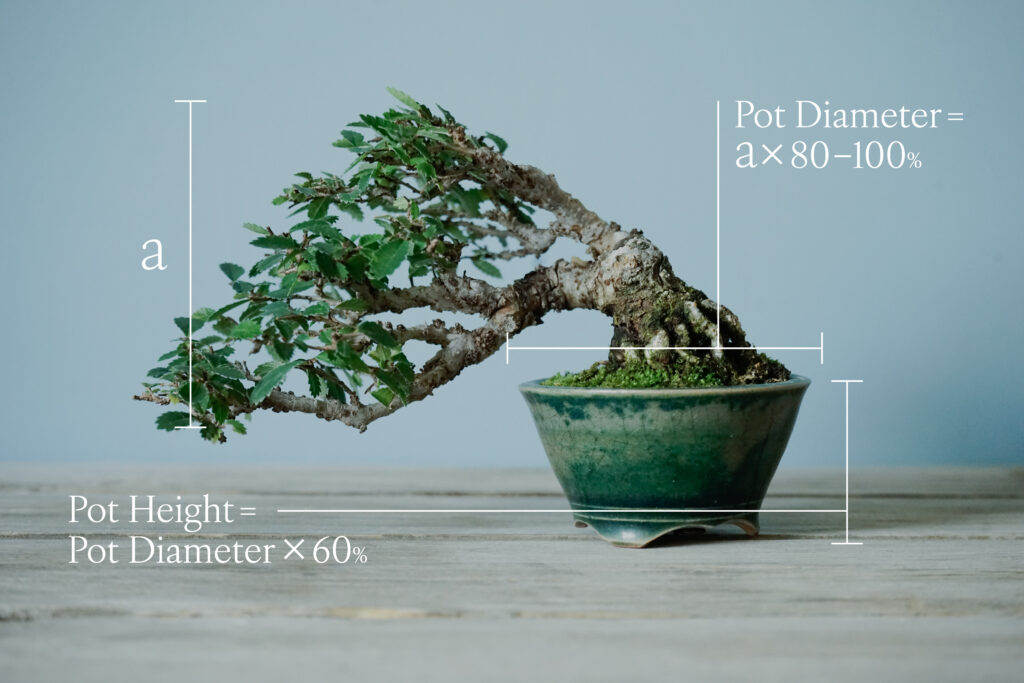
The important factors when choosing a pot are healthy root growth and visual balance. However, finding the right balance can be difficult.
For beginners, depending on the shape of the tree, I recommend a medium-depth round pot with a diameter about 80–100% of the tree’s height and a height about 60–70% of the pot’s diameter. A round pot is less likely to look awkward even if the front of the tree changes as it develops. These proportions are also slightly larger than ideal, providing enough space for root growth and better water retention.
If you’re unsure, you can also ask a bonsai nursery to help you choose a pot. I hope to cover proportions for other pot shapes and how to match pot colors with trees in a future article.
Main Types of Bonsai Pots
For beginners, I first recommend an unglazed Training Pot, which provides both breathability and water retention. However, because it is less attractive, you can also use a Glazed Display Pot (Glazed Earthenware is recommended) or an Unglazed Display Pot, as long as it has a coarse clay body with good breathability.
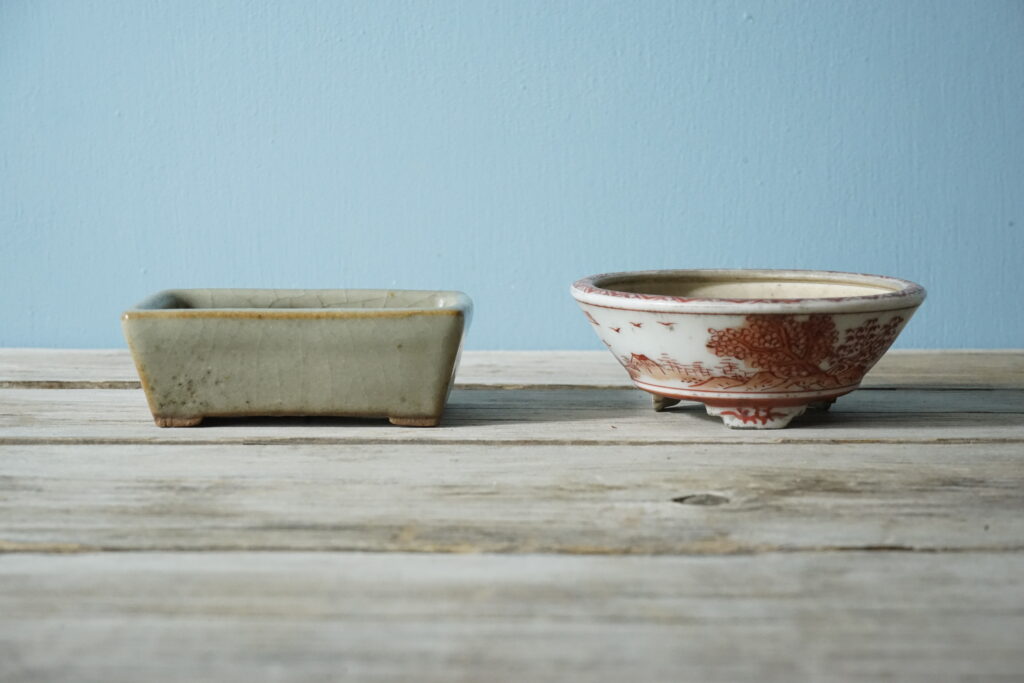
Glazed Display Pots | Kesho-bachi
Glazed pots. They may be made from Glazed Earthenware, Glazed Stoneware, Semi-porcelain, or Porcelain. Glazed Stoneware, Semi-porcelain, Porcelain, and pots glazed across the underside (uragusuri) have poor breathability and are better suited to experienced growers.
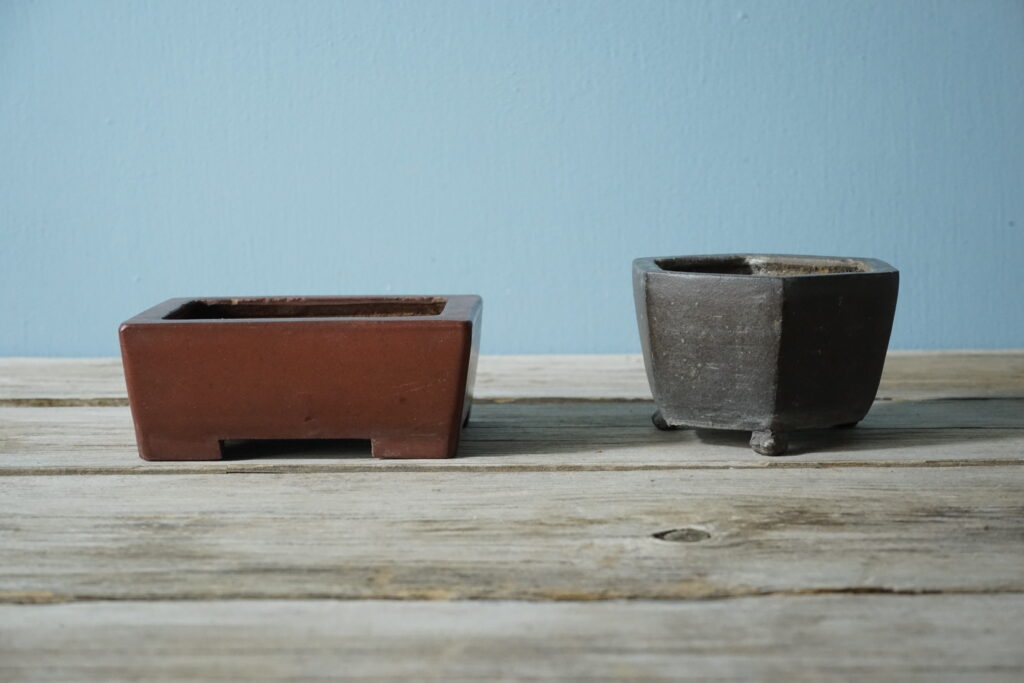
Unglazed Display Pots | Yakishime
Unglazed Stoneware fired at high temperatures. There is considerable variation between individual pots. Hard pots made from fine-grained clay and fired at extremely high temperatures have poor breathability, while some pots with a coarser clay body have reasonably good breathability.
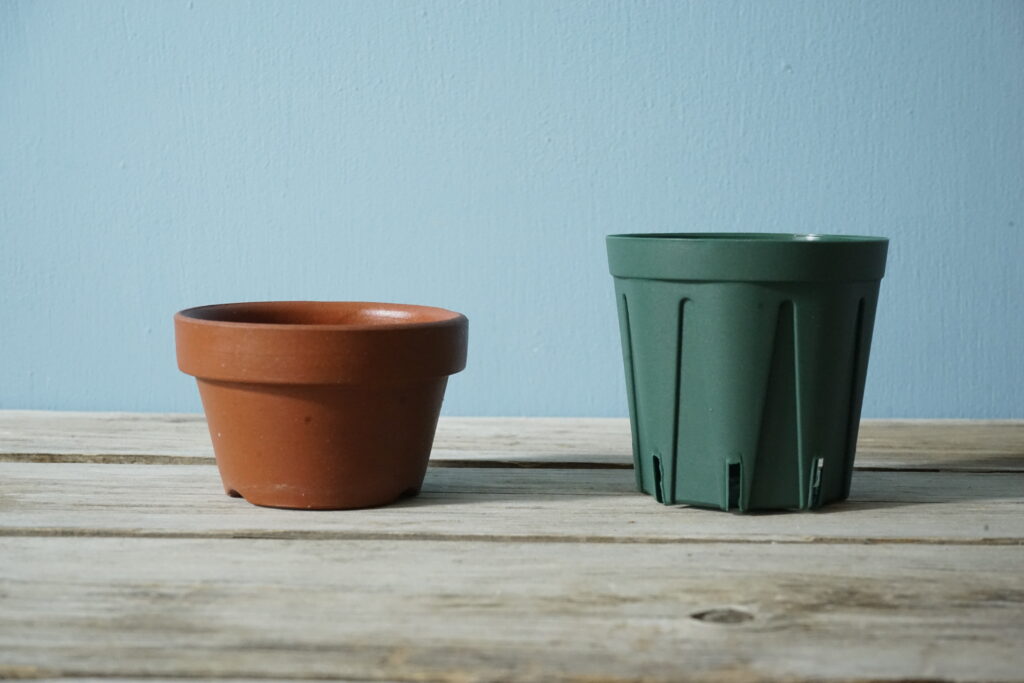
Training Pots | Shitate-bachi
Unglazed pots with excellent breathability and drainage. They are well suited to growing trees, although they are less attractive as bonsai pots.
Training Pots | Shitate-bachi
Unglazed pots with excellent breathability and drainage. They are well suited to growing trees, although they are less attractive as bonsai pots.
Glazed Display Pots | Kesho-bachi
Glazed pots. They may be made from Glazed Earthenware, Glazed Stoneware, Semi-porcelain, or Porcelain. Glazed Stoneware, Semi-porcelain, Porcelain, and pots glazed across the underside (uragusuri) have poor breathability and are better suited to experienced growers.
Unglazed Display Pots | Yakishime
Unglazed Stoneware fired at high temperatures. There is considerable variation between individual pots. Hard pots made from fine-grained clay and fired at extremely high temperatures have poor breathability, while some pots with a coarser clay body have reasonably good breathability.
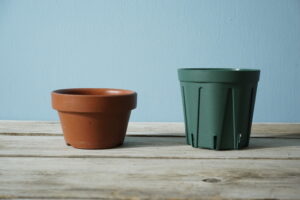
Training Pots | Shitate-bachi
Unglazed pots with excellent breathability and drainage. They are well suited to growing trees, although they are less attractive as bonsai pots.
Key Points for Beginners
Choose a medium-depth round pot
Pot diameter: about 80–100% of the tree’s height
Pot height: about 60% of the pot’s diameter
Avoid Porcelain and hard, highly fired Stoneware
Soil
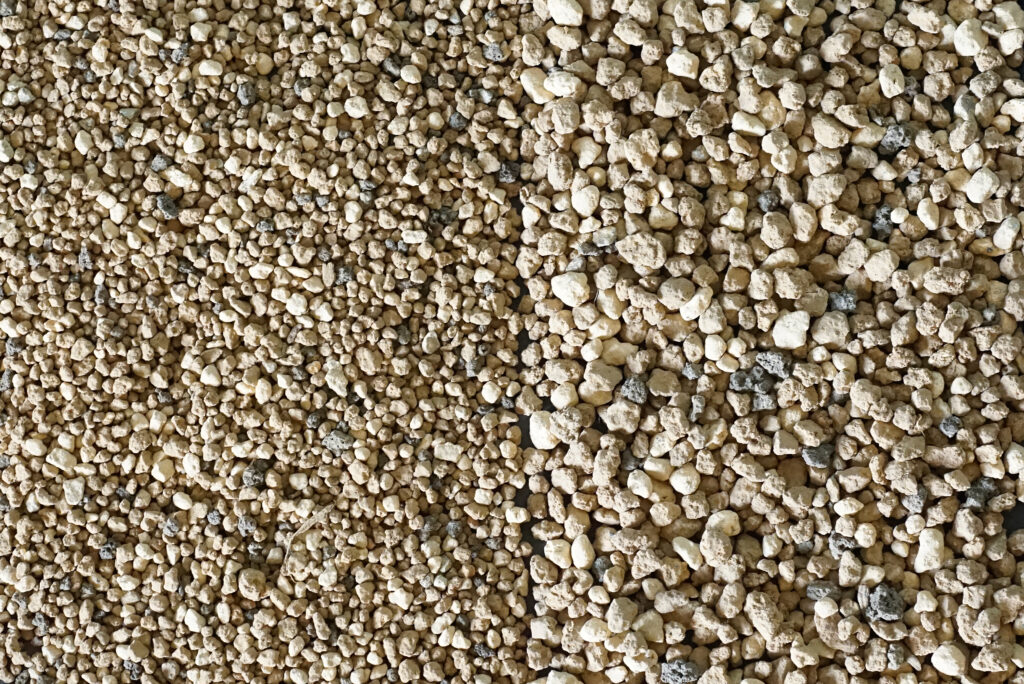
Always use new soil for bonsai to avoid pests, diseases, and excess fertilizer residues. For small bonsai, choose a clean, uniform, durable granular soil mix with particles about 1–3 mm (1/24–1/8 in) in size that resist breaking down. A bonsai soil mix available in your region is perfectly suitable. For beginners, what matters most is being able to judge how dry the soil is.
Horticultural gravel and bark mixes labeled as 3 mm (1/8 in), commonly found in the United States and the United Kingdom, appear to contain mostly particles around 1–3 mm (1/24–1/8 in) in practice, making them suitable for small bonsai.
Key Points for Choosing Soil for Small Bonsai
Particle size: about 1–3 mm (1/24–1/8 in)
Clean and uniform
Resistant to breaking down
Preferably makes it easy to see how dry the soil is
Everyday Maintenance
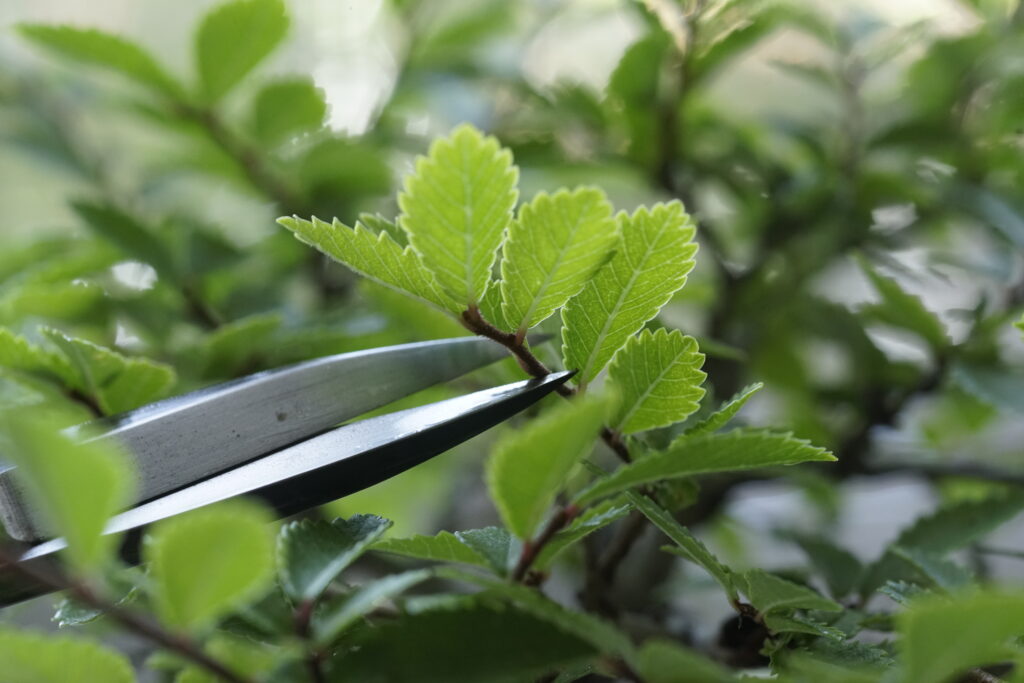
Everyday maintenance is one of the great pleasures of bonsai. Bonsai involves many different techniques, including bud pinching, pruning, leaf thinning / leaf cutting, old leaf removal, and wiring. However, until you gain experience, these techniques can also risk weakening the tree. Start with just the following safe range of work. If the tree is healthy, it can recover even if you make a mistake, so give these techniques a try.
The First Three Maintenance Techniques for Broadleaved Trees
When Buds or Branches Clearly Extend Beyond the Silhouette
Bud Pinching / Pruning
Pinch elongated buds with your fingers, or cut elongated shoots with twig shears. When pinching or cutting, always leave a bud or leaf at the base of the branch, and never cut too close to it.
Purpose | Maintain the tree’s shape, encourage inner buds, and balance branch strength.
When the Foliage Becomes Dense Enough to Restrict Airflow
At first, simply reducing the foliage a little is enough. Combine the following techniques while leaving leaves and buds evenly balanced throughout the tree. Keeping about two-thirds of the tree’s total foliage is a safe guideline.
Leaf Thinning
Reduce leaves in crowded areas. On strong shoots, leave one or two leaves. On weak shoots, leave at least two leaves or do not remove any.
Leaf Cutting
In crowded areas, cut large leaves back by about one-third, leaving about two-thirds of each leaf, or cut them roughly in half. Do not cut small leaves.
Purpose | Maintain the tree’s shape, encourage inner buds, and balance branch strength.
When You Notice Out-of-Season Yellow or Dead Leaves
Old Leaf Removal
Regularly remove only old leaves that come off easily without force, using tweezers.
Purpose | Maintain the tree’s shape, encourage inner buds, and balance branch strength.
About Air Layering
If your goal is to create a small bonsai you can enjoy as quickly as possible, air layering is a powerful option.
However, because failure can weaken the tree, beginners should first establish a suitable growing environment and become comfortable with daily care and repotting (STEP 0–2 and STEP 4) before trying it.
Repotting Broadleaved Trees
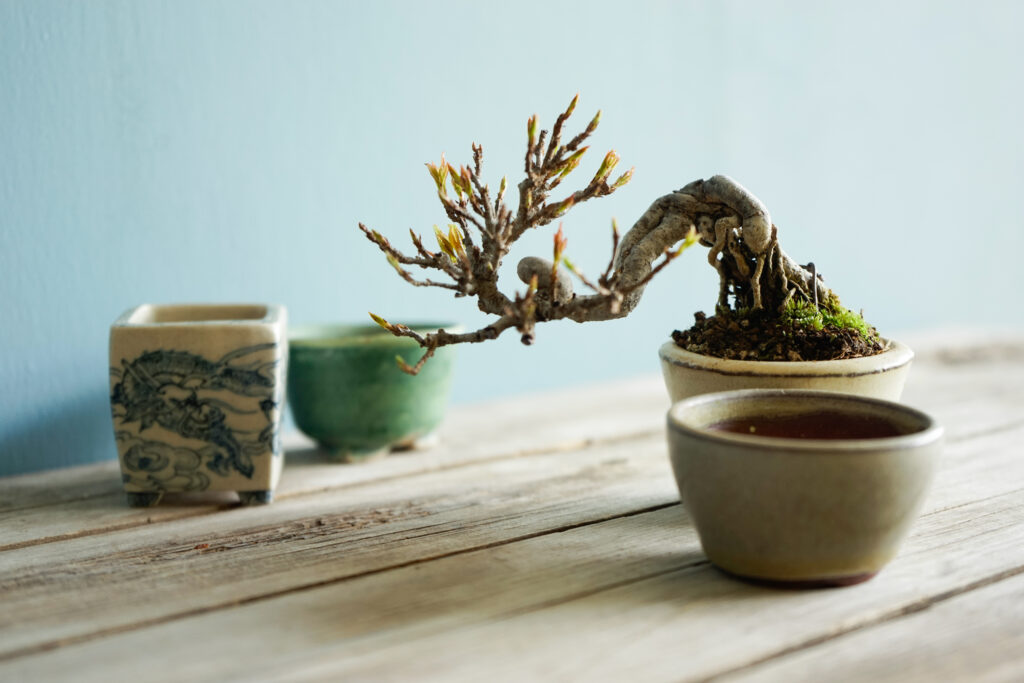
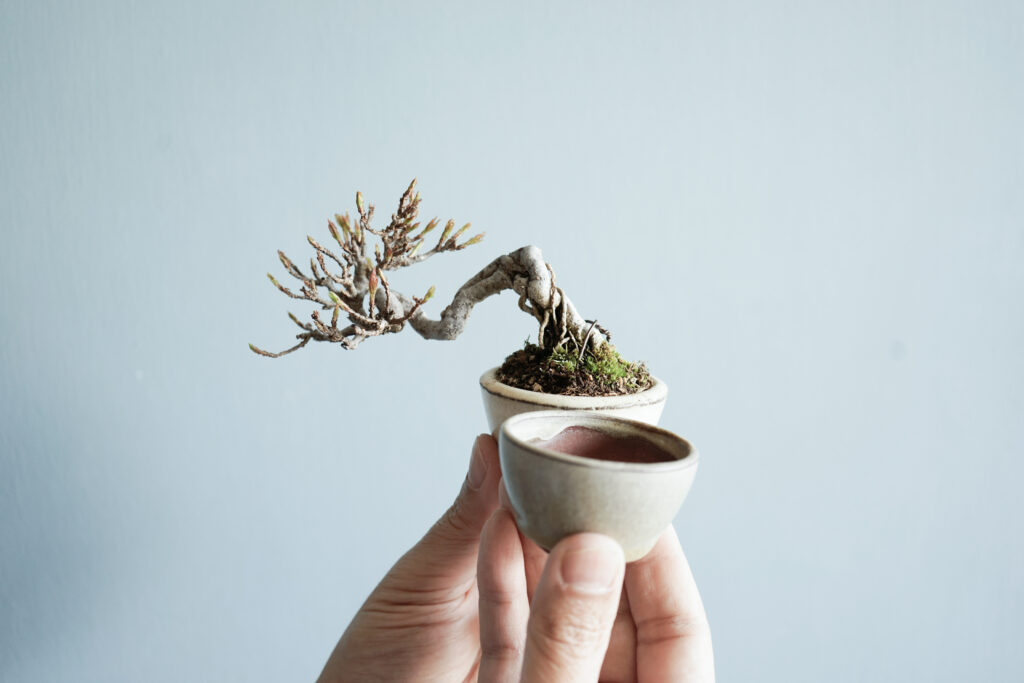
Best Time to Repot
For broadleaved trees, the basic timing for repotting is around the time the new buds begin to move. Because broadleaved trees have vigorous root growth, repot them about every one to two years. (For conifers, every three to five years.)
Repotting is a fundamental technique for keeping trees healthy. Start by gaining experience with broadleaved trees, and try conifers once you have more experience.
Notes for Beginners
Repotting Process Overview
01 | Decide the Planting Direction and Angle
Check the planting direction and angle in advance.
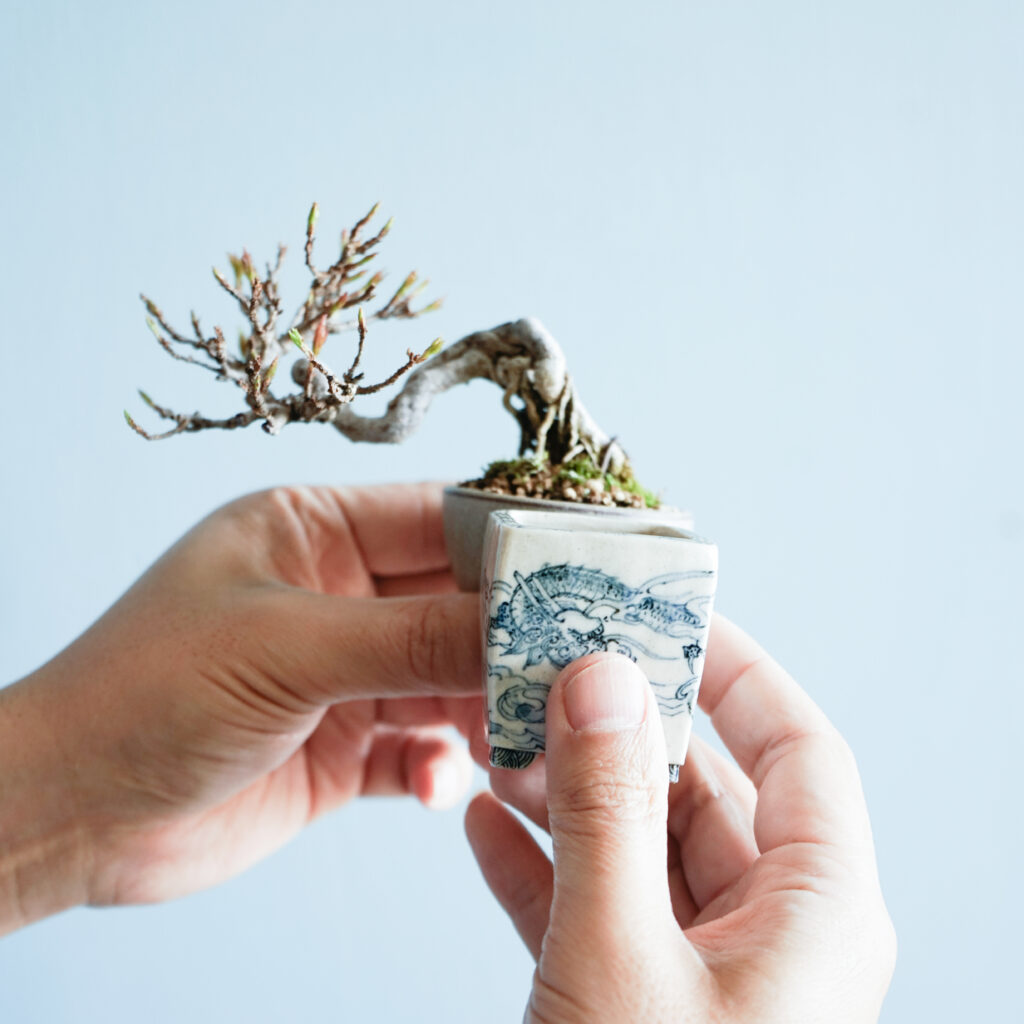
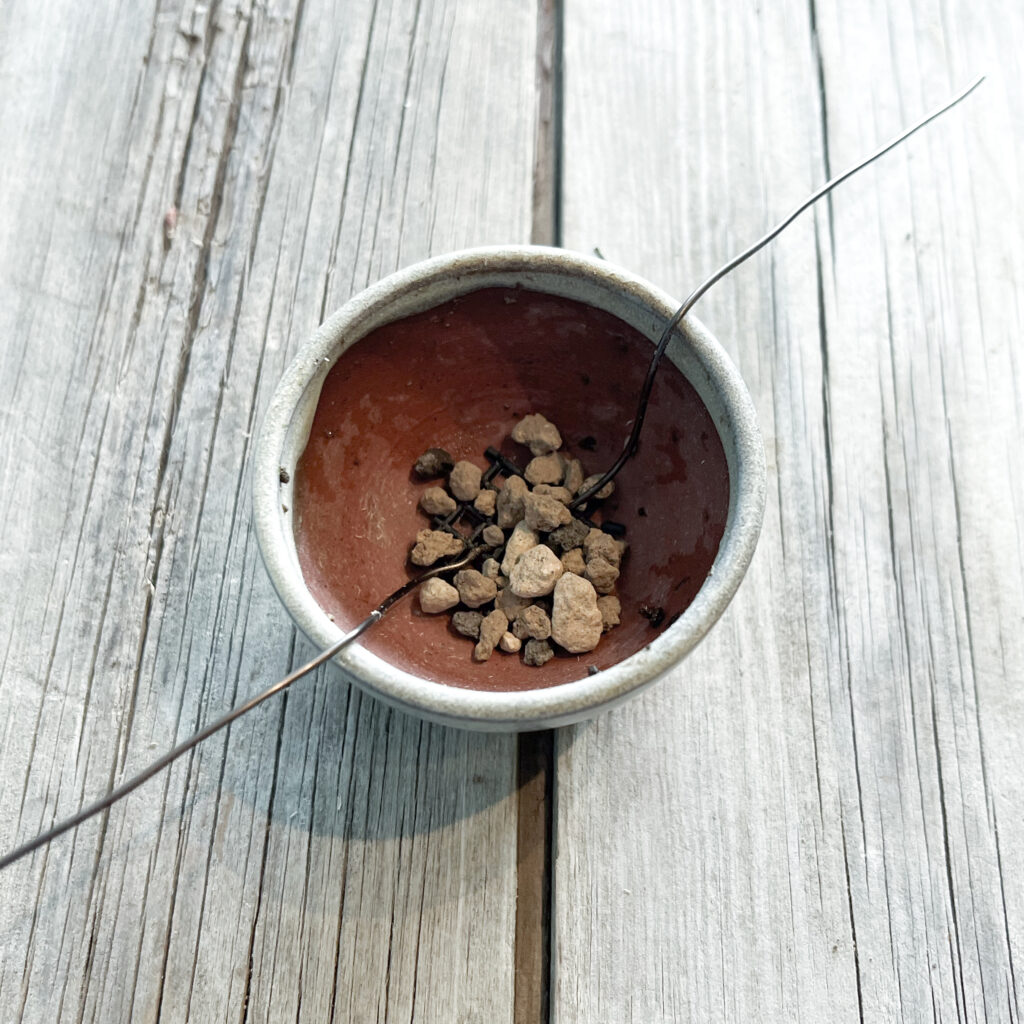
02 | Prepare the Pot
Prepare the drainage mesh, anchoring wire, and soil.
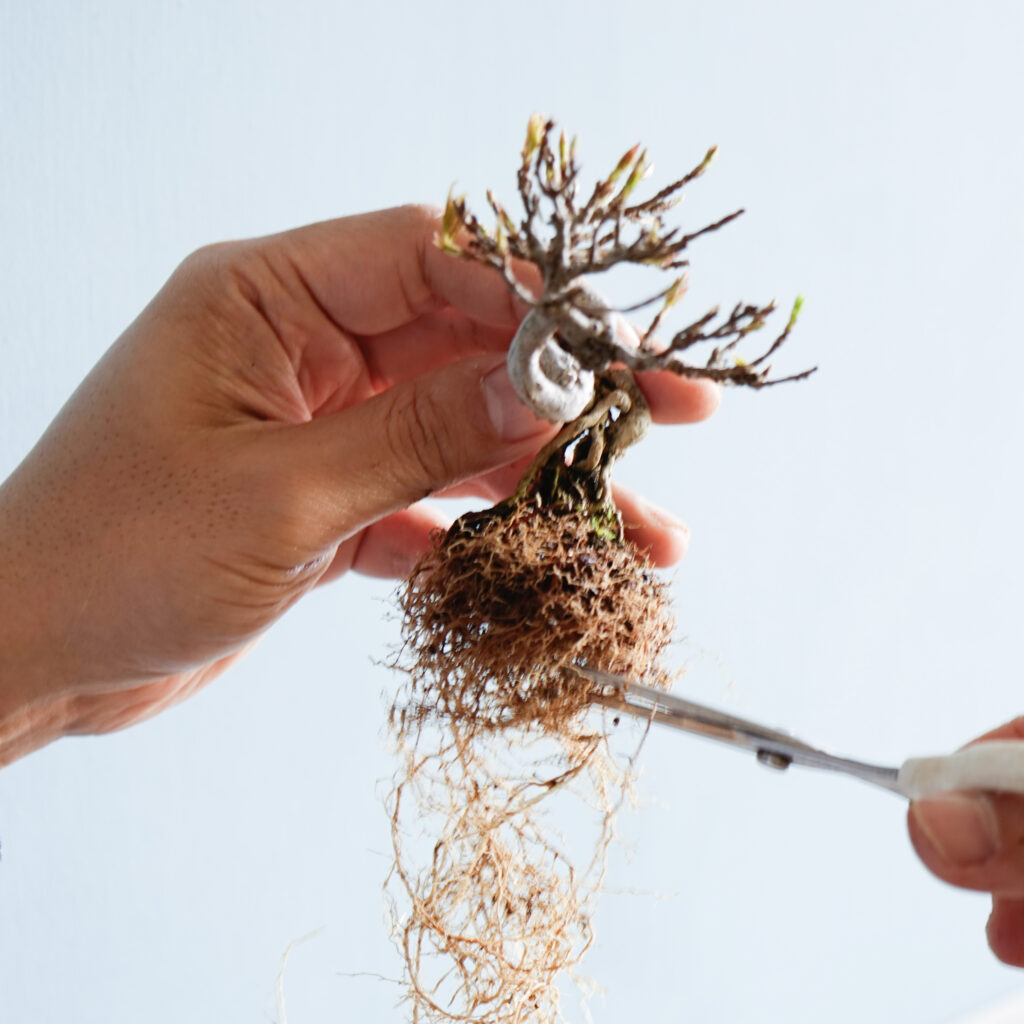
03 | Remove the Tree from the Pot
Carefully remove the tree without damaging the roots, remove the old soil, and prune back the roots while tidying them.
04 | Plant the Tree
Add soil while checking the tree’s position, making sure to work the soil thoroughly between the roots.
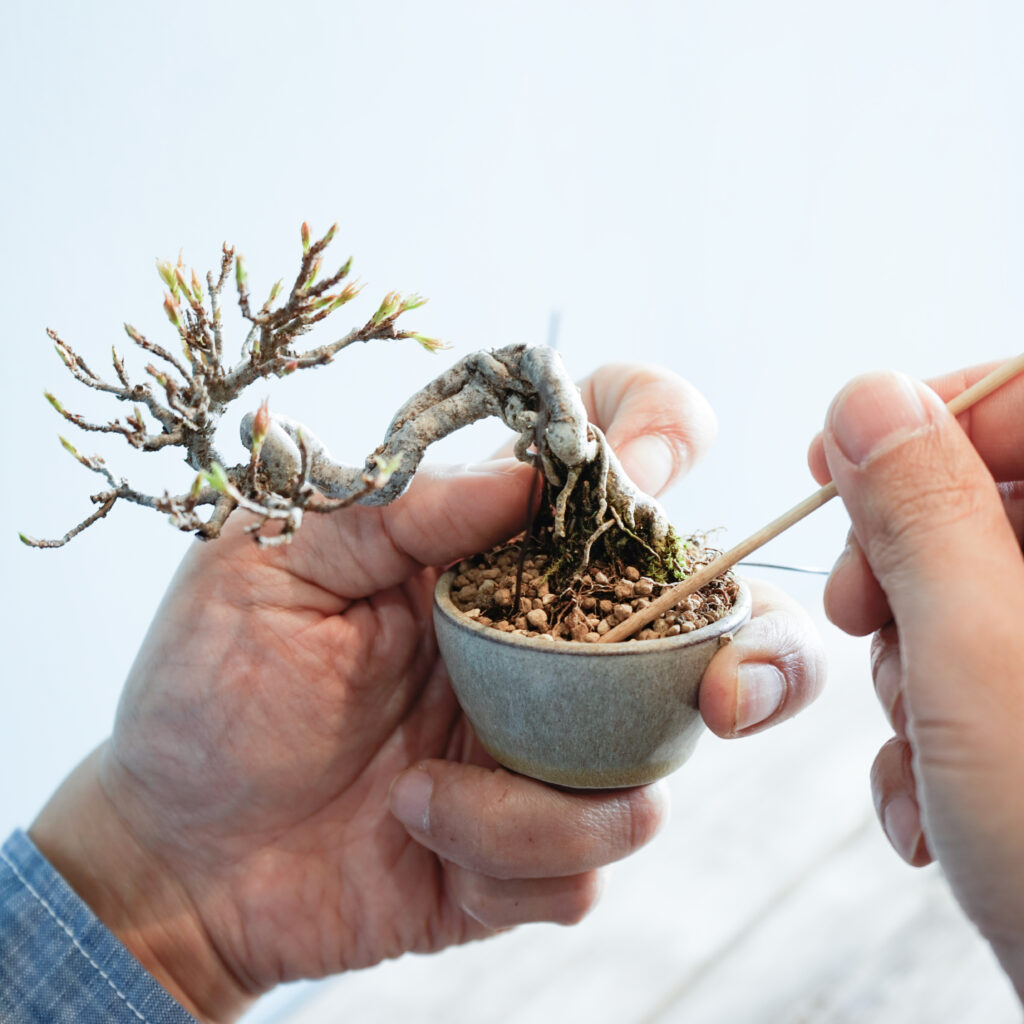
05 | Secure the Tree
After planting, secure the tree with wire so it does not move.
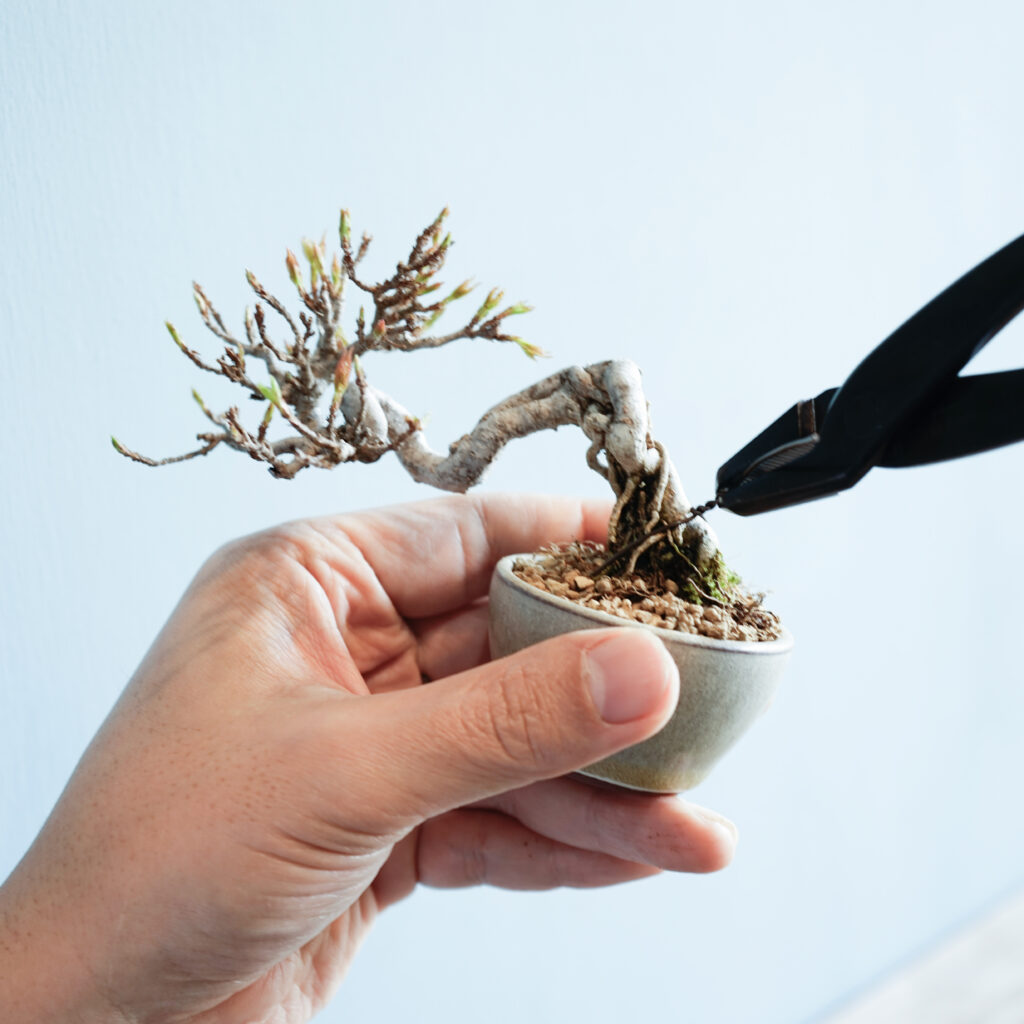
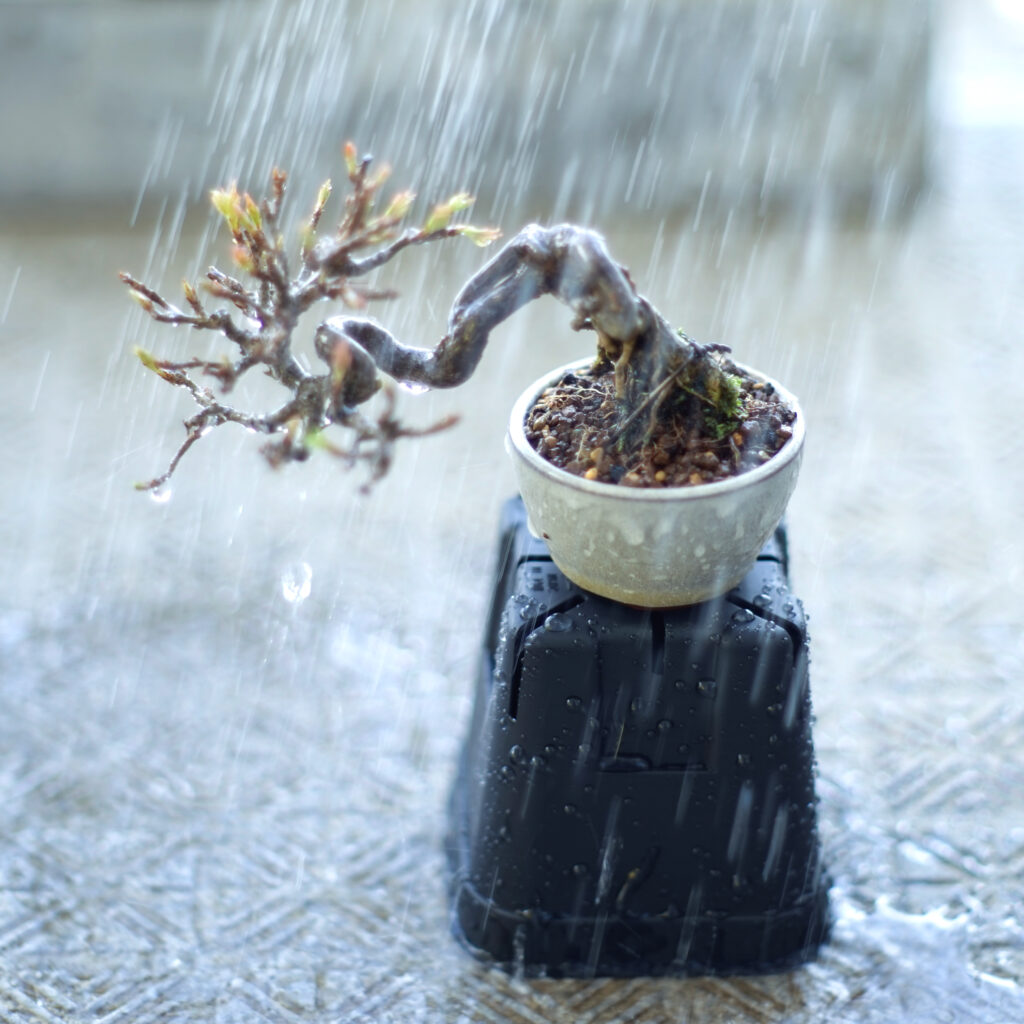
06 | Water and Finish
Water thoroughly until the water draining from the bottom of the pot runs clear.
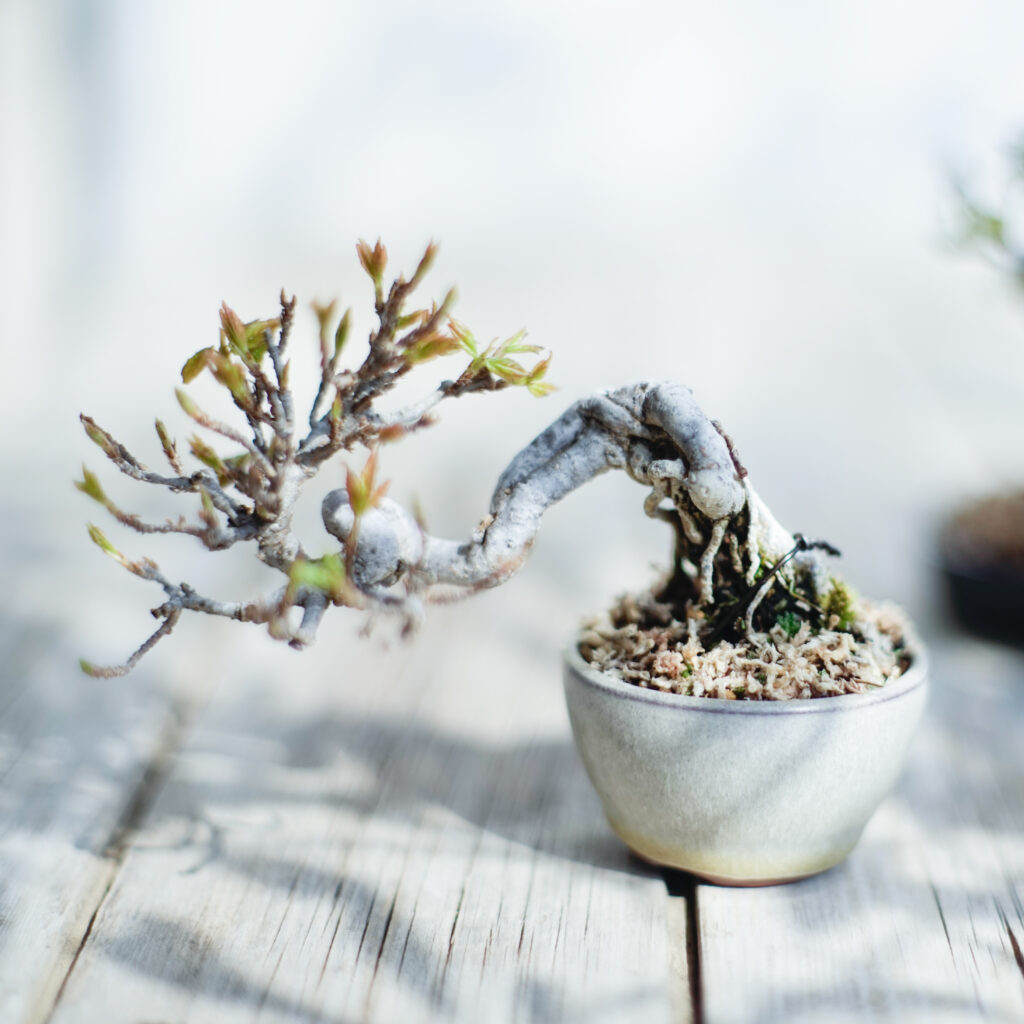
If necessary, protect the soil surface with moss or sphagnum moss.
07 | Aftercare
Keep the tree in partial shade for about one week after repotting, and water slightly earlier than usual.
For broadleaved trees, wait at least one week and until the new buds have opened before applying fertilizer. For conifers, wait about one month.
Glazed Display Pots | Kesho-bachi
Glazed pots. They may be made from Glazed Earthenware, Glazed Stoneware, Semi-porcelain, or Porcelain. Glazed Stoneware, Semi-porcelain, Porcelain, and pots glazed across the underside (uragusuri) have poor breathability and are better suited to experienced growers.
Unglazed Display Pots | Yakishime
Unglazed Stoneware fired at high temperatures. There is considerable variation between individual pots. Hard pots made from fine-grained clay and fired at extremely high temperatures have poor breathability, while some pots with a coarser clay body have reasonably good breathability.
Training Pots | Shitate-bachi
Unglazed pots with excellent breathability and drainage. They are well suited to growing trees, although they are less attractive as bonsai pots.
Why Beginners Lose Trees
One of the most common mistakes I hear about from beginners is leaving a bonsai indoors all the time. Insufficient sunlight, together with poor airflow and humidity-related problems, can easily worsen conditions inside the pot and weaken the tree. Be sure to keep your bonsai outdoors in a location with good sunlight and airflow.
Watering is also extremely important. Letting the tree dry out too much is the greatest risk, but if you are worried about the tree and keep watering without giving the soil time to dry, conditions inside the pot can also deteriorate, leading to root rot and potentially killing the tree.
That said, even when you think you are providing perfect care, sometimes a tree will still die. As far as I know, unfortunately, there is no way to guarantee that a bonsai will never die. All we can do is pay attention to the seven points above and keep observing our trees every day.
Summary
Thank you for reading to the end.
Bonsai is a deep subject, and there is far too much to cover on a single page. I hope I have explained the five key points for getting started with small bonsai / Shohin bonsai as clearly as possible. Most of the topics introduced here have much more to explore, and I plan to add more detailed pages over time.
There is no single perfect answer in bonsai. Use the methods introduced here as a guide, and gradually adjust them to suit your own growing environment and the condition of your trees.
Start by spending time with just one small tree.